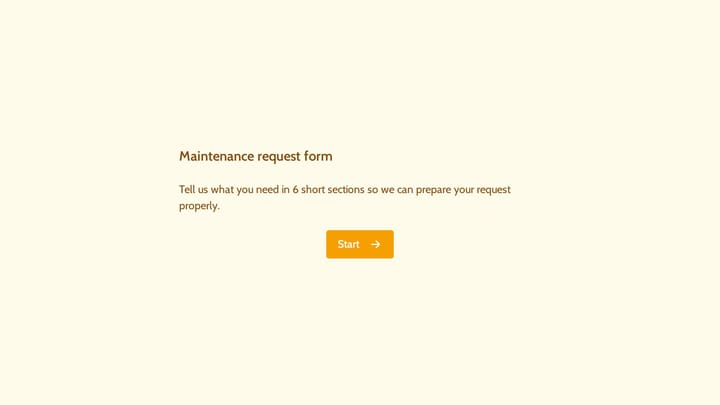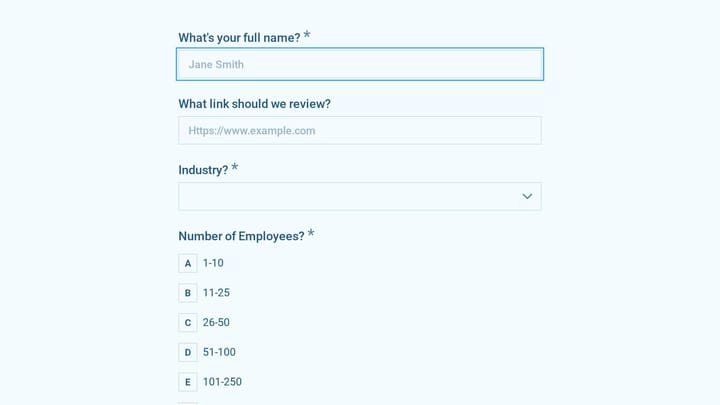
Try to build a job application form without a file upload field. You can collect a name, email, phone number, and a few screening questions, but the moment you need a resume, you’re stuck. The same thing happens with insurance claims that need photos, bug reports that need screenshots, vendor onboarding that needs W-9s, and scholarship applications that need transcripts.
File uploads aren’t a nice-to-have for these use cases. They’re the whole point. Without them, you end up asking people to email attachments separately, which means lost files, mismatched submissions, and a manual process that defeats the purpose of having a form in the first place.
If you’re looking for a form builder with file upload support, this guide covers what actually matters: when you need it, how to design the upload experience so people don’t abandon your form, the security considerations most people skip, and which tools handle it well.
When file uploads are worth adding to a form
Not every form needs file uploads. A contact form doesn’t. A newsletter signup definitely doesn’t. Adding upload fields when they’re unnecessary just slows people down and increases your storage costs.
But there are categories where file uploads are genuinely essential:
Hiring and recruitment. Resumes, cover letters, portfolios, and work samples. If you’re building a job application form, you need at least one upload field. Asking candidates to paste their resume into a text box is a bad look.
IT and product teams. Bug reports and feature requests almost always benefit from screenshots or screen recordings. A written description of “the button doesn’t work” is vague. A screenshot showing the exact error state saves your developers hours. We wrote a full guide on building bug report forms that covers this in detail.
Insurance and legal. Claims forms need photos of damage. Consent forms sometimes need signed document uploads. Compliance forms need supporting documentation. These industries can’t function on text fields alone.
Education. Scholarship applications need transcripts. Course submissions need assignment files. Research applications need proposals and CVs.
Client and vendor onboarding. Tax documents, certificates of insurance, business licenses, signed contracts. Onboarding workflows are document-heavy by nature.
If your form falls into any of these categories, file upload isn’t optional. It’s a core requirement that should influence which form builder you choose.
File upload UX that doesn’t frustrate people
Getting file uploads to work technically is the easy part. Getting them to feel smooth for the person filling out your form is harder. Most file upload implementations are mediocre at best, and the small details make a real difference in whether people finish your form or give up.
Drag-and-drop plus a click fallback
Drag-and-drop upload zones have become the expected pattern. People want to grab a file from their desktop and drop it onto the form. But you can’t rely on drag-and-drop alone. Mobile users can’t drag files. Some desktop users prefer clicking. Accessibility tools don’t always support drag interactions.
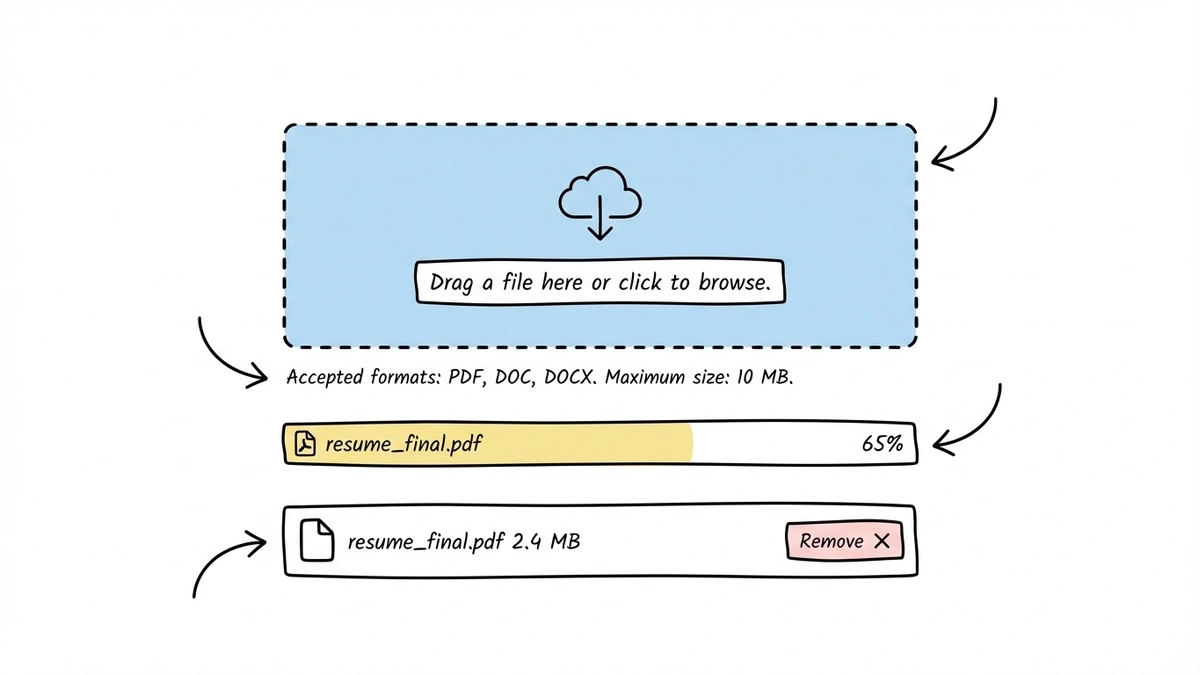
The right approach: a clearly labeled drop zone that also works as a click-to-browse button. The drop zone should have a visible border (dashed borders have become the convention), a brief instruction like “Drag a file here or click to browse,” and a visual change when a file is being dragged over it.
Show accepted formats and size limits upfront
Nothing is more annoying than selecting a file, waiting for it to process, and then seeing “File type not supported.” Tell people what you accept before they try to upload. Put the accepted formats and maximum file size directly below the upload field, in regular text, not hidden in a tooltip.
Good example: “Accepted formats: PDF, DOC, DOCX. Maximum size: 10 MB.”
Bad example: Showing format restrictions only after someone tries to upload the wrong type.
This sounds obvious, but a surprising number of forms get it wrong. They either hide the restrictions entirely or bury them in fine print that nobody reads.
Progress indicators for larger files
If your form accepts files over a few megabytes, you need a progress bar or percentage indicator. Without one, users on slower connections have no idea whether the upload is working or frozen. They’ll click the upload button again, refresh the page, or just leave.
A simple progress bar with a percentage is enough. Fancy animations aren’t necessary. What matters is that the user can see something is happening.
Let people preview and remove files
After uploading, show the filename, file size, and a remove button. For image uploads, show a thumbnail preview. People make mistakes. They grab the wrong file, upload an outdated version, or accidentally select their grocery list instead of their resume. Making it easy to swap files reduces frustration and errors.
Handle multiple files gracefully
Some use cases need multiple uploads. A bug report might need several screenshots. An insurance claim might need photos from different angles. A job application might need a resume and a portfolio.
If you need multiple files, make the limit clear (“Upload up to 5 files”) and show each uploaded file in a list. Don’t make people upload one file, submit, then come back for the next one. That’s a workflow from 2005.
One thing to watch: total upload size limits. Five 10 MB files is 50 MB, which can be slow on mobile connections. Set reasonable per-file and total limits based on what you actually need.
Security considerations most people ignore
File uploads introduce security risks that text fields don’t. When you accept files from the public internet, you’re accepting whatever people choose to send you. Most form builders handle the heavy lifting here, but you should understand what’s happening under the hood.
File type validation (server-side, not just client-side)
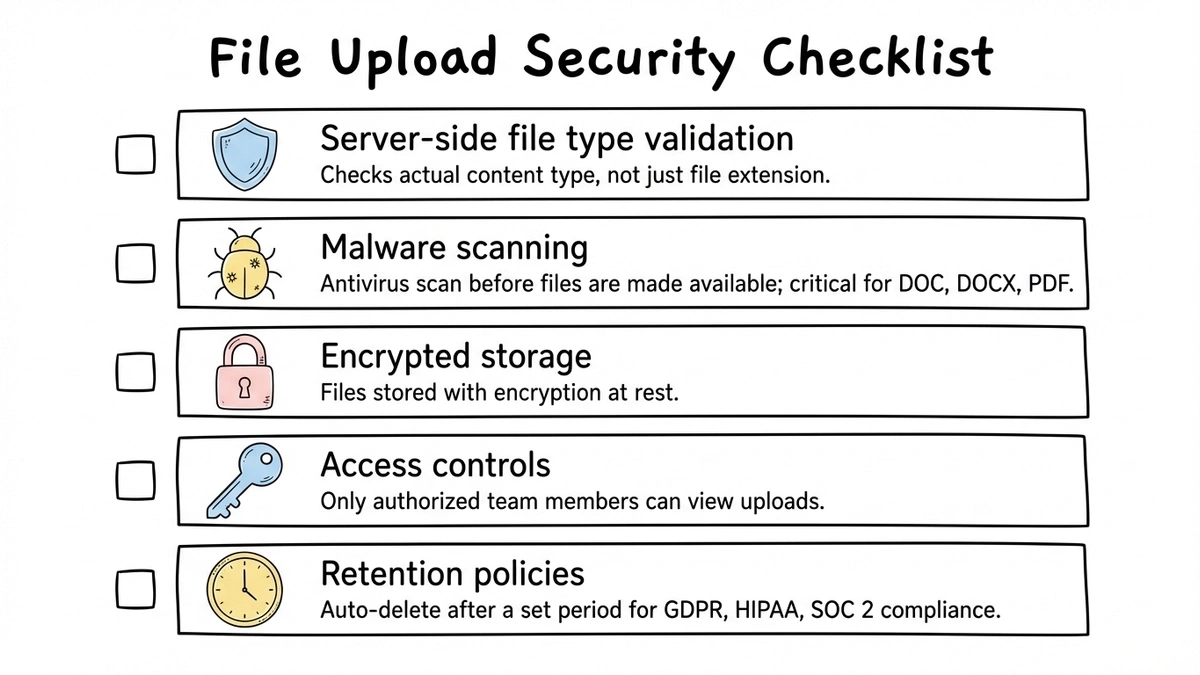
Client-side validation (checking the file extension in the browser) is a UX convenience, not a security measure. Someone can rename a .exe file to .pdf and bypass it trivially. Real validation happens on the server, where the form builder checks the file’s actual content type, not just its name.
When evaluating form builders, ask whether they do server-side file type validation. Most reputable ones do, but it’s worth confirming.
Malware scanning
Uploaded files can contain malware. A form builder that stores files without scanning them is a liability, especially if your team downloads and opens those files. The better platforms run antivirus scans on uploaded files before making them available.
This matters most for forms that accept document types like DOC, DOCX, XLS, and PDF, which can contain macros and embedded scripts. Image-only uploads (JPG, PNG) carry lower risk but aren’t zero-risk.
Storage and access controls
Where do uploaded files end up? Who can access them? How long are they retained? These questions matter for compliance (GDPR, HIPAA, SOC 2) and for basic data hygiene.
Look for form builders that store files in encrypted storage, provide access controls so only authorized team members can view uploads, and let you set retention policies to auto-delete files after a certain period.
If you’re collecting sensitive documents like tax forms, medical records, or signed contracts, the storage and access model should be a primary factor in your decision, not an afterthought.
Which form builders handle file uploads well
Not all form builders treat file uploads equally. Some have robust, well-designed upload fields. Others bolt on a basic upload button and call it done. Here’s a practical look at the options, based on what each tool actually offers today.
Jotform
Jotform has one of the more mature file upload implementations. You get drag-and-drop, multiple file uploads, file type restrictions, and size limits up to 100 MB per file on paid plans (10 MB on free). Files are stored in Jotform’s cloud, and you can connect to Dropbox or Google Drive for automatic syncing. The upload widget looks decent out of the box, though customizing its appearance is limited.
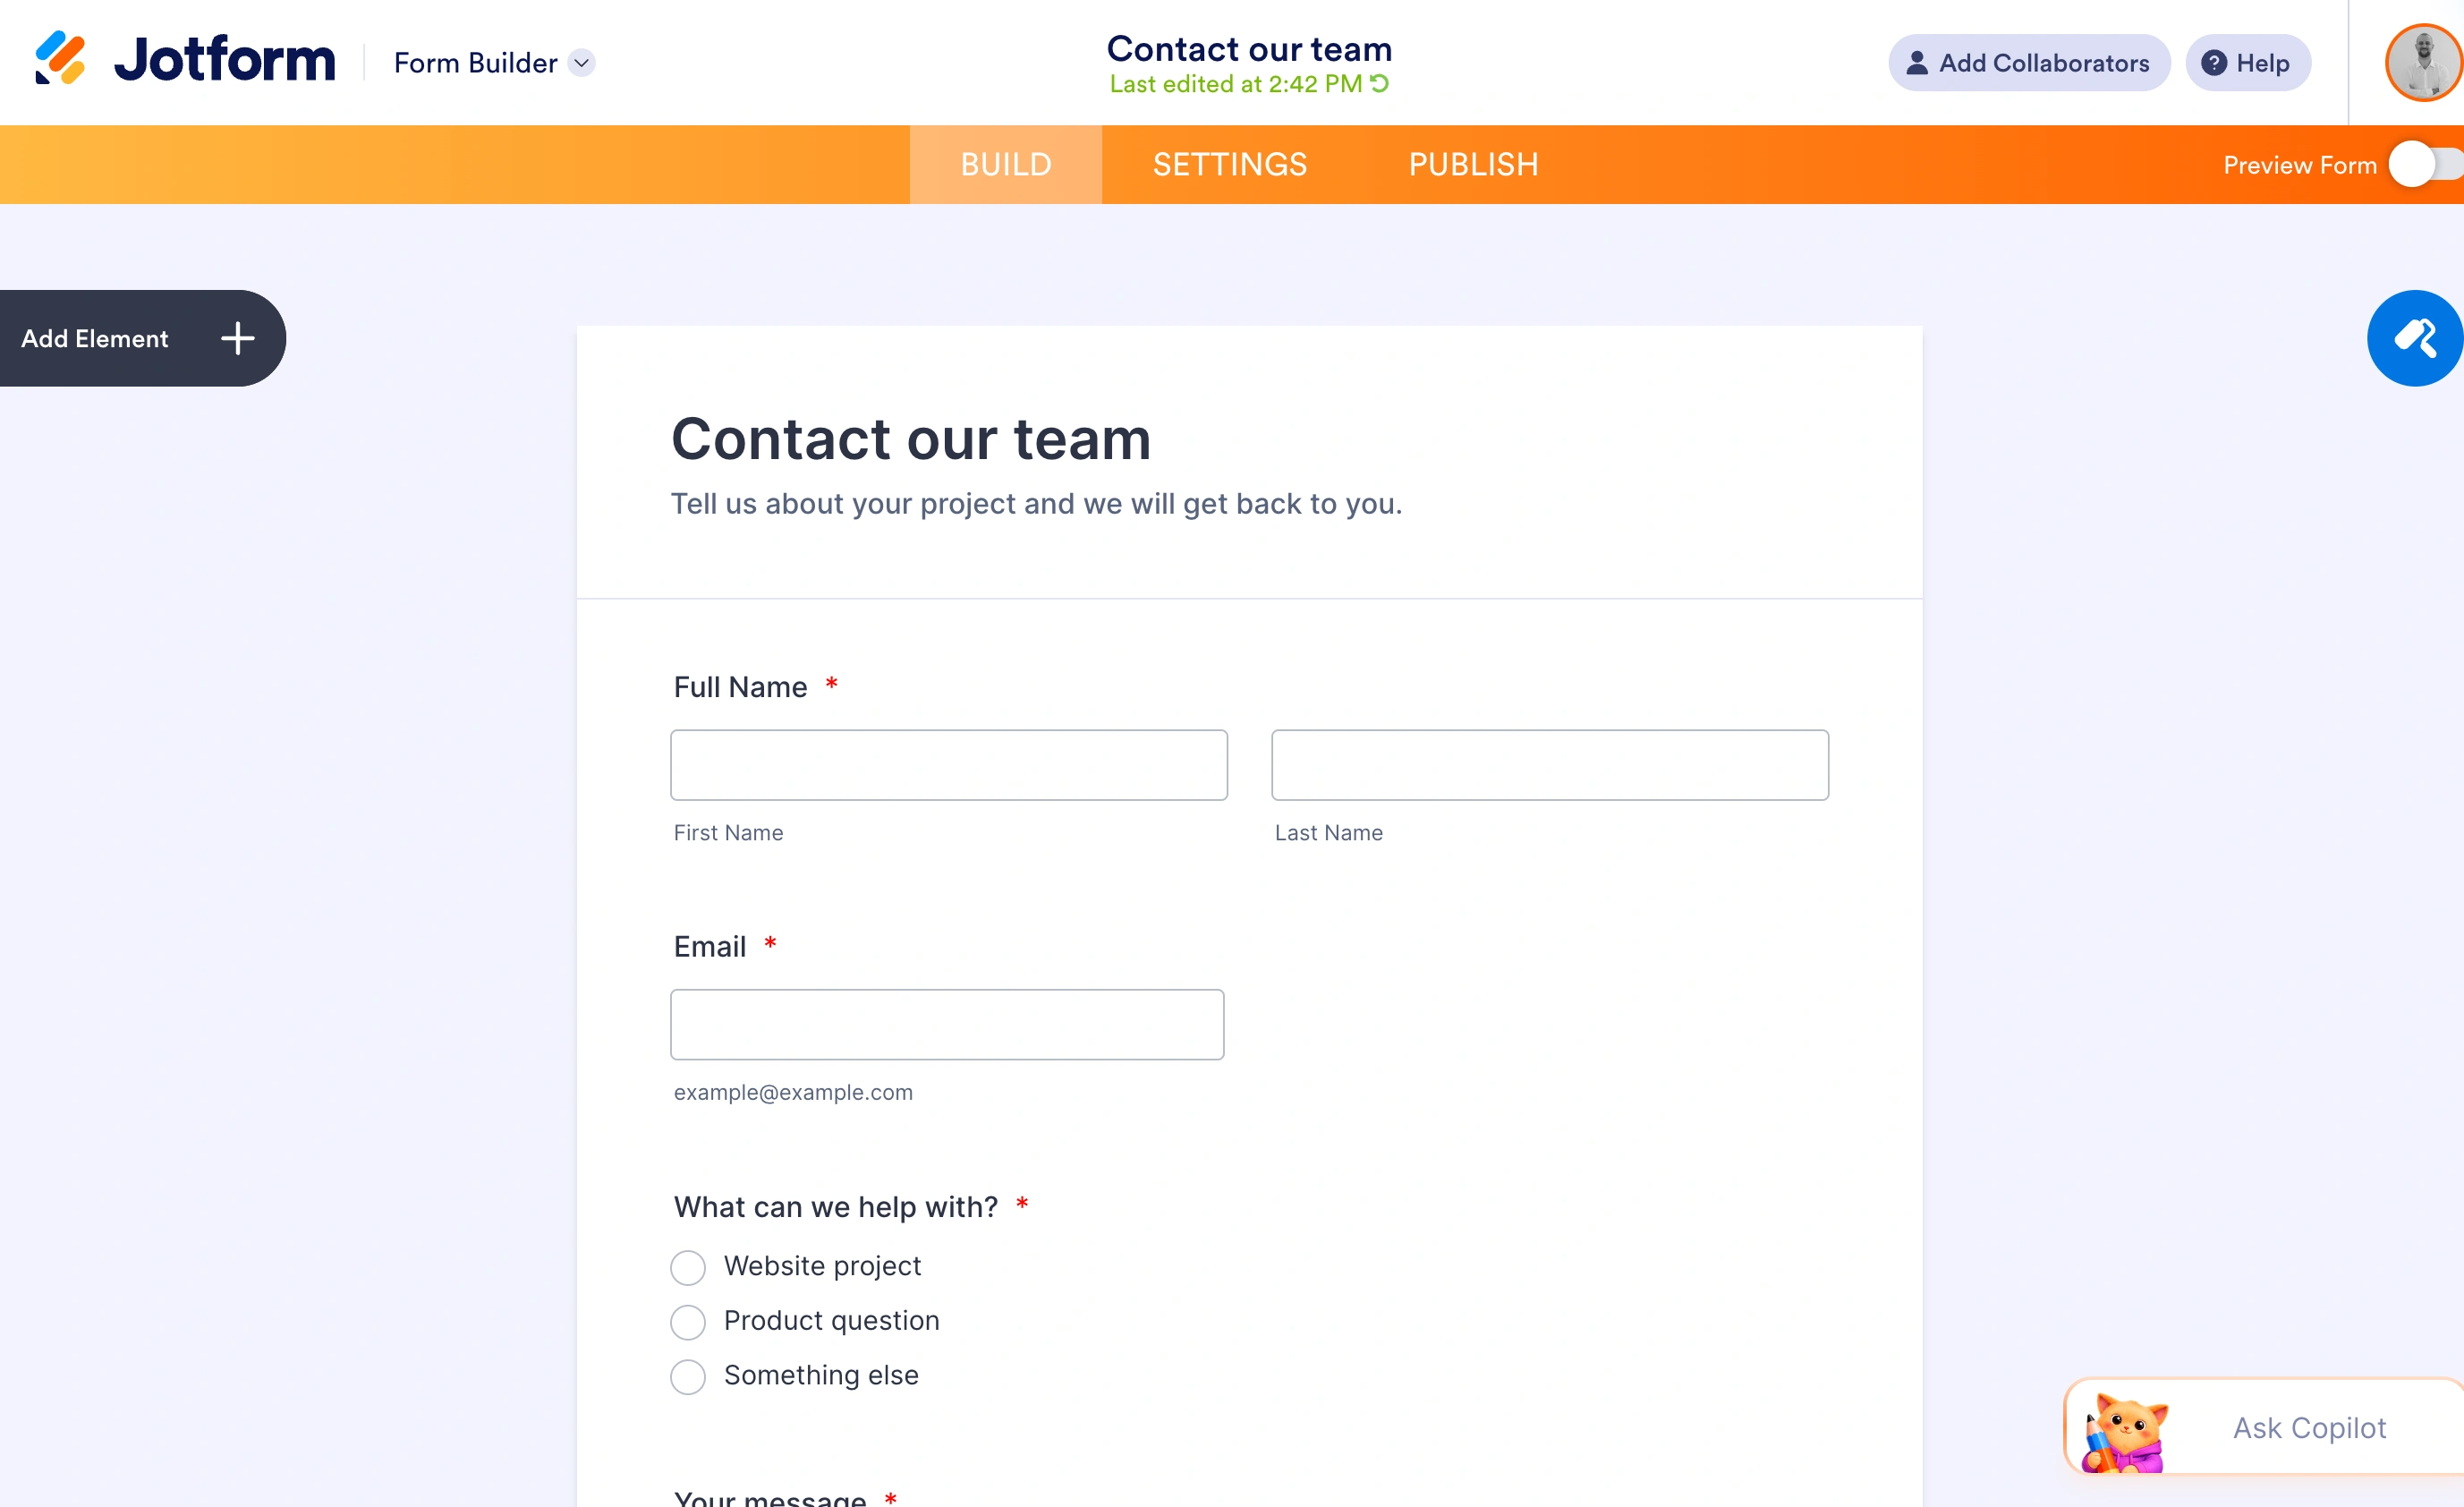
The downside is pricing. Jotform’s free plan caps you at 100 MB of total storage, which fills up fast if you’re collecting resumes or photos. Paid plans start at $39/month for Bronze, or $408 a year billed annually.

Typeform
Typeform supports file uploads, but the experience is more basic. You get a single file upload field per question, with a 10 MB limit on most plans. There’s no drag-and-drop zone in the traditional sense since Typeform’s conversational format presents one question at a time, so the upload is a simple button click.
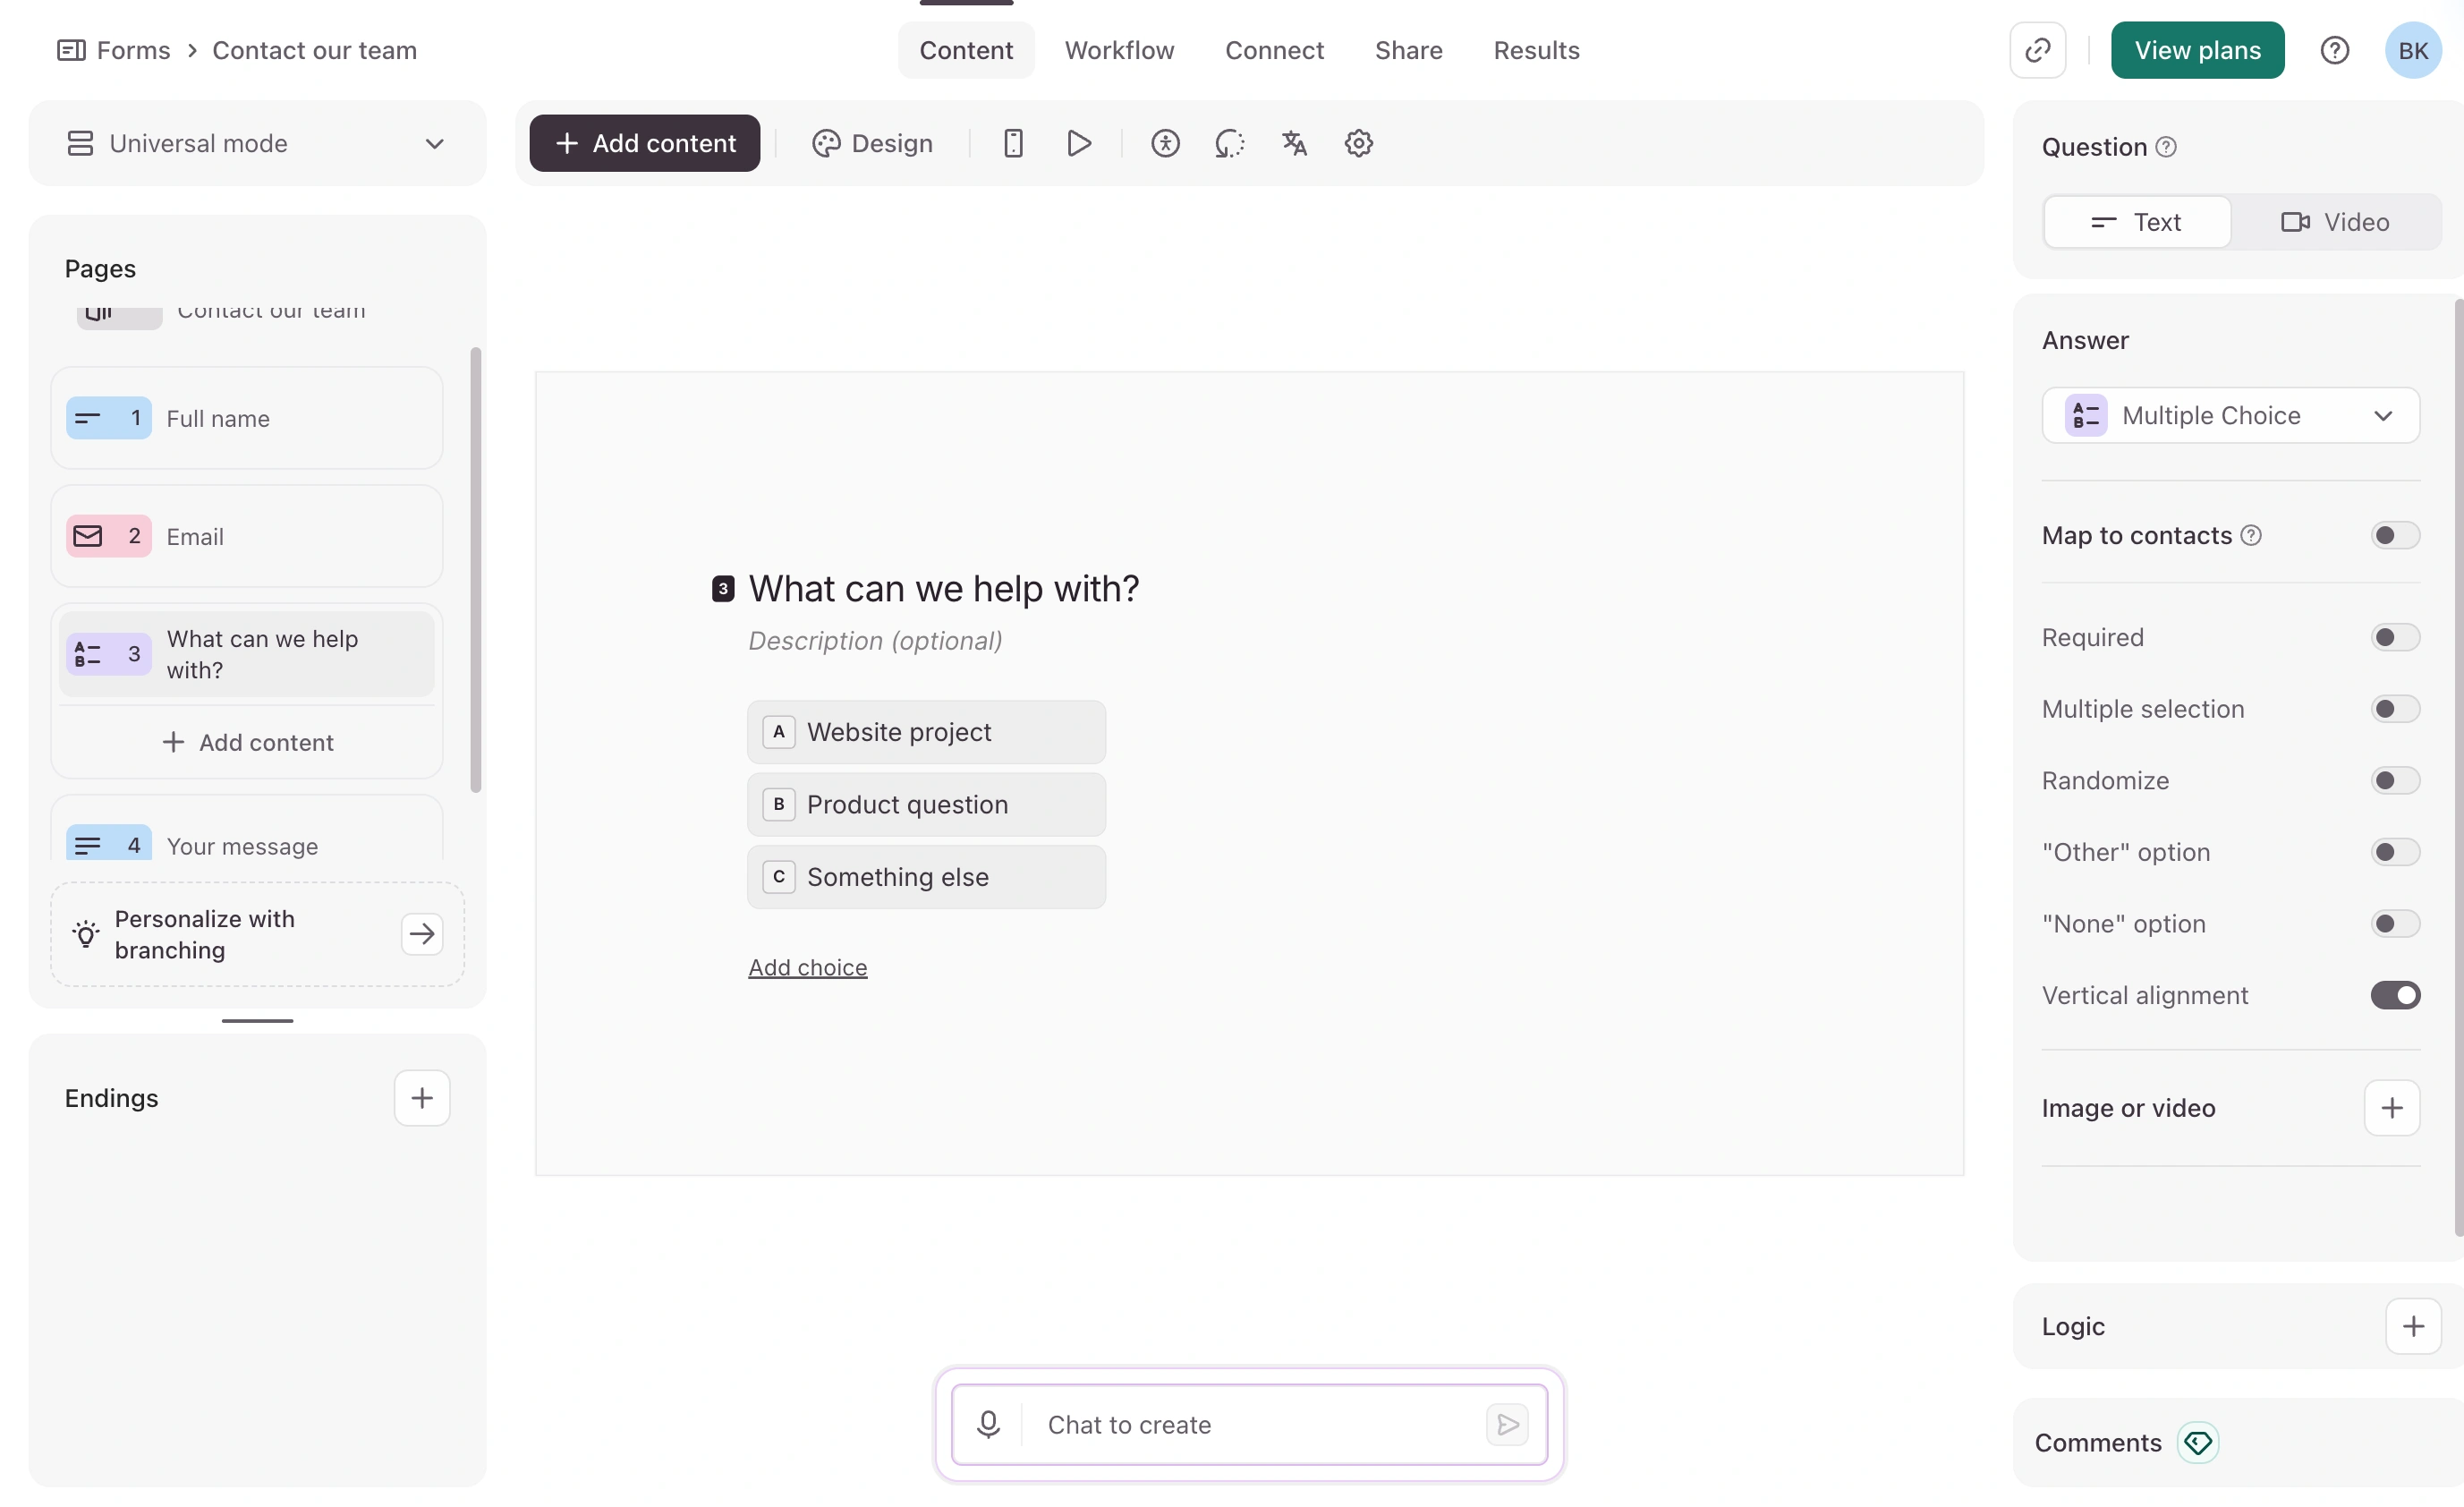
For forms where file upload is a minor addition (one optional screenshot, one resume), Typeform works fine. For document-heavy workflows where you need multiple uploads with previews and progress indicators, it feels thin.

Google Forms
Google Forms added file uploads a while back, but with a significant limitation: respondents must be signed into a Google account. That’s a dealbreaker for public-facing forms. You can’t ask job applicants or insurance claimants to create a Google account just to submit a form.
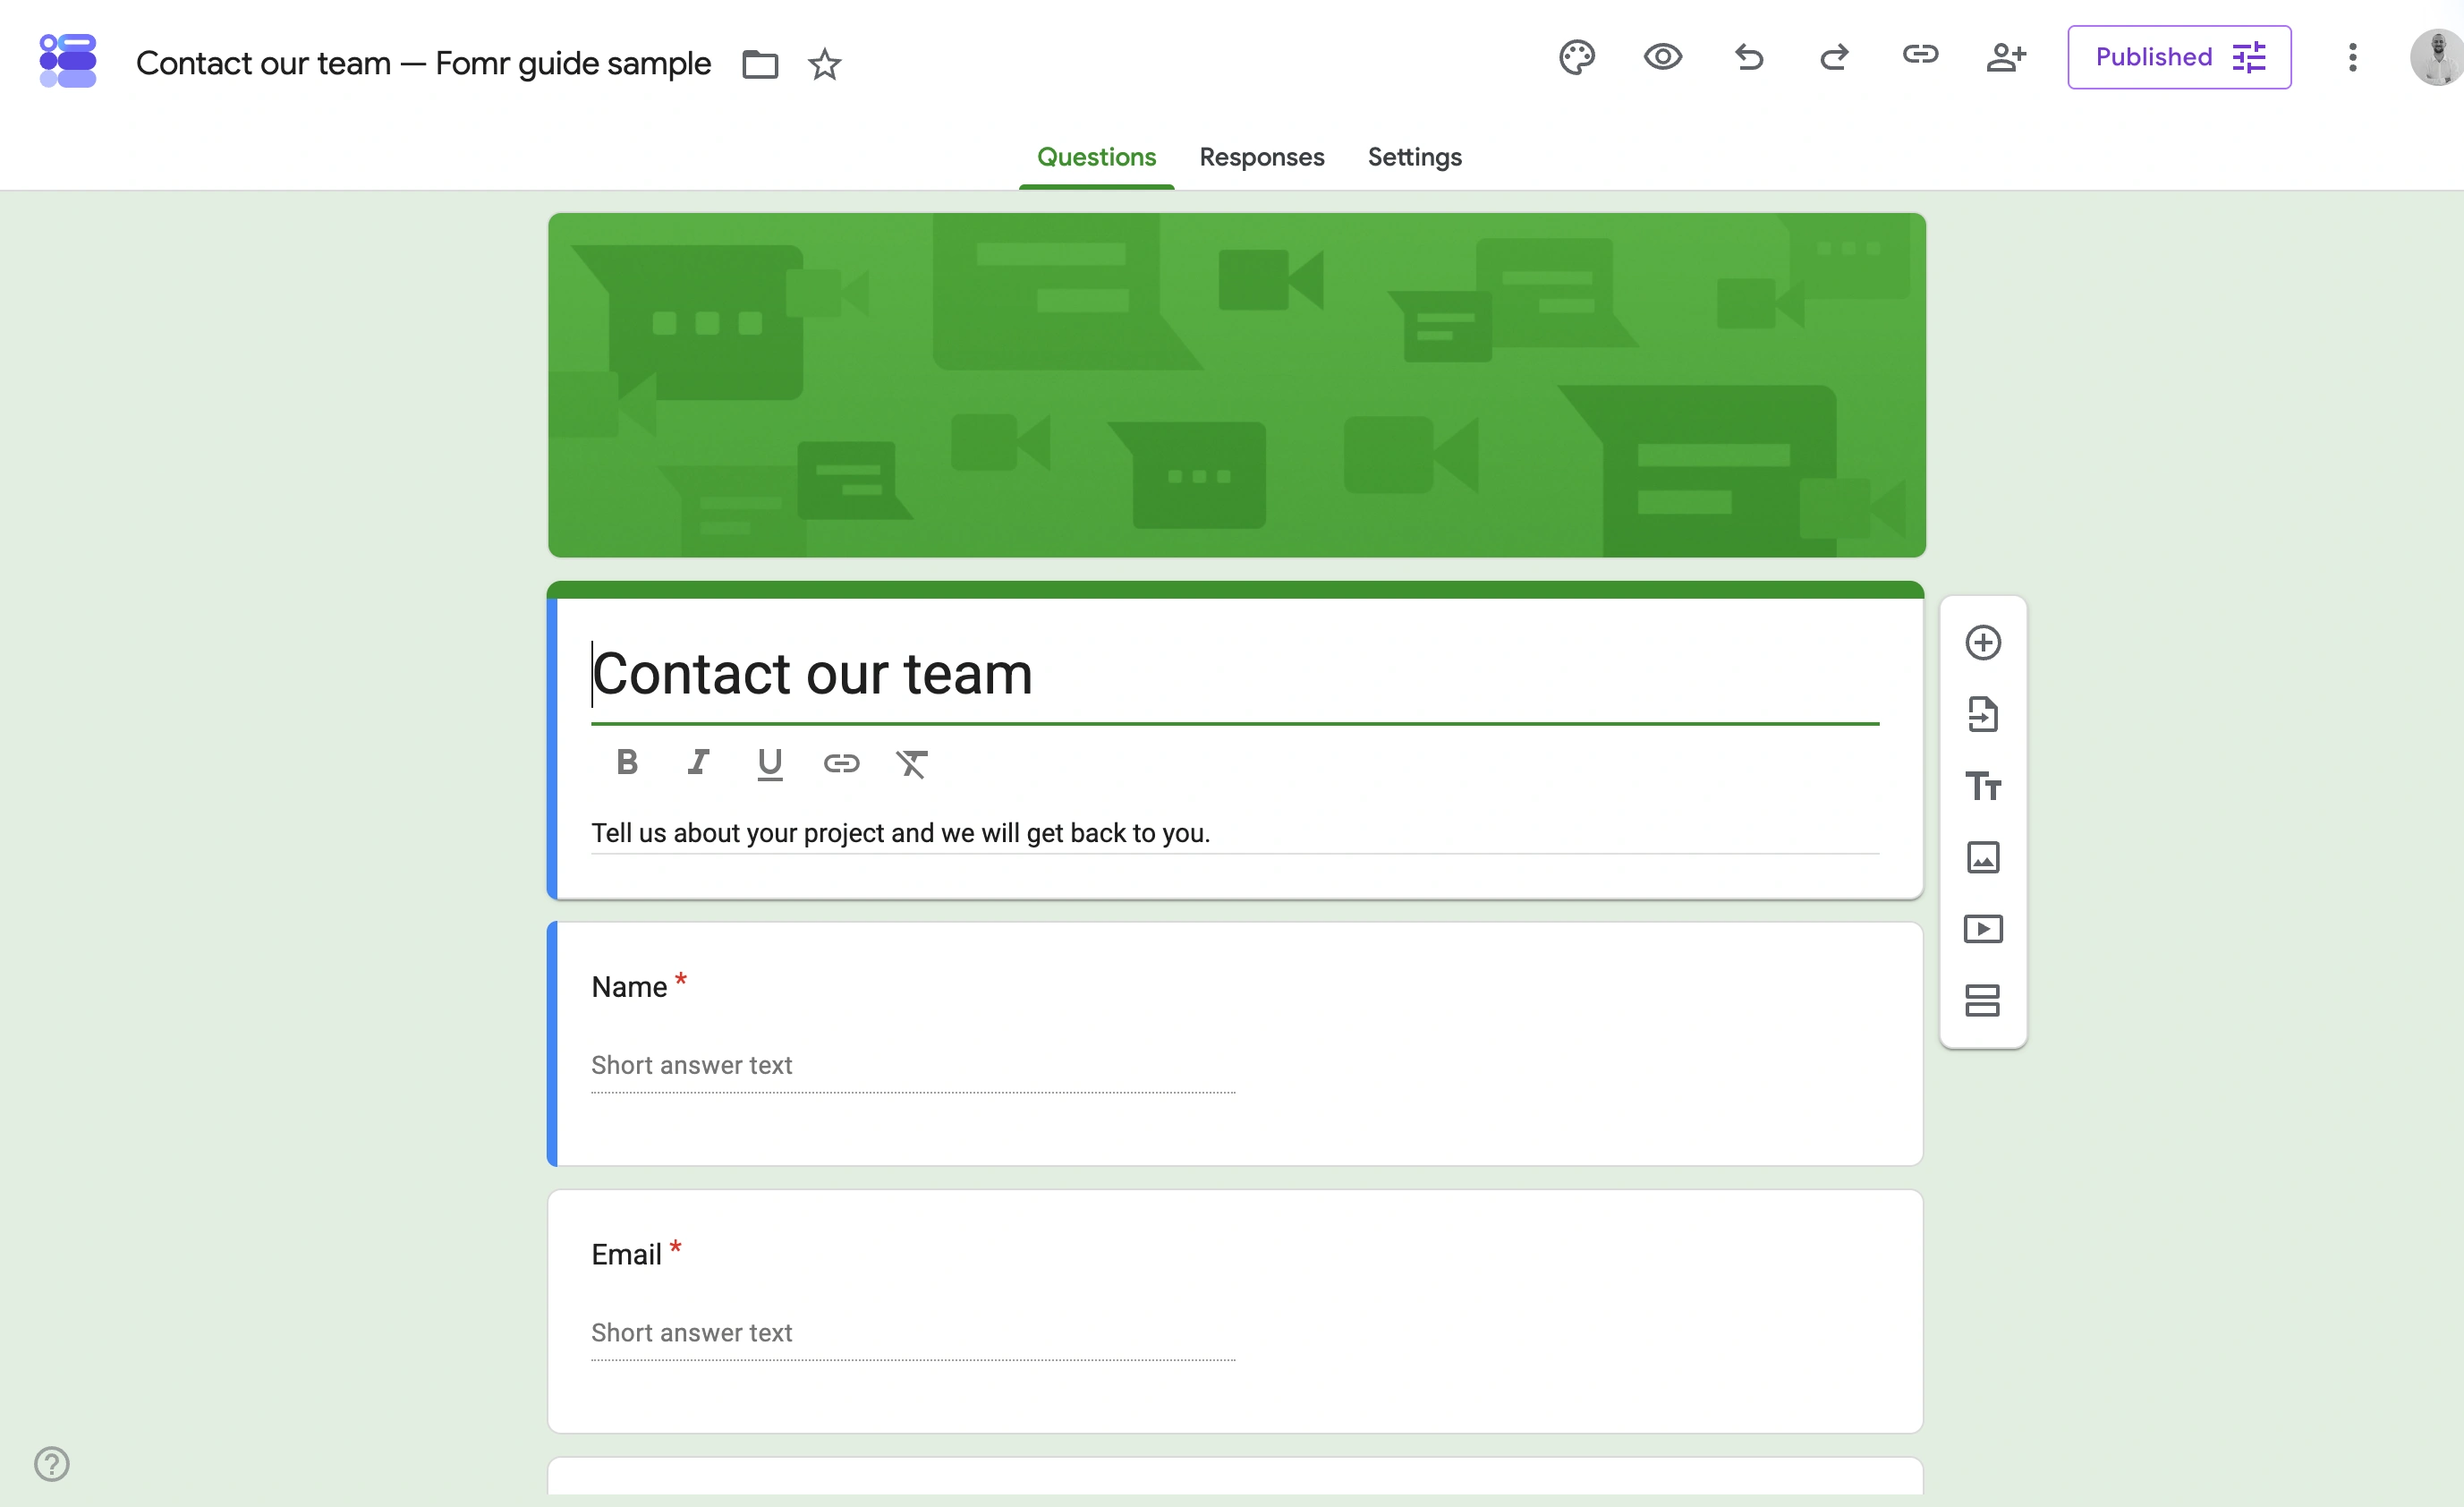
If your form is internal (employees, students within a Google Workspace organization), this restriction is less of an issue. Files go straight to Google Drive, which is convenient. But for anything external, look elsewhere.
Tally
Tally offers file uploads on its free plan, which is notable. Free supports files up to 10 MB each, with no fixed total storage cap under Tally’s fair-use policy. Pro removes the per-file size limit. You can restrict allowed file types and let respondents upload multiple files.

The trade-off is design flexibility. Tally forms have a specific look that you can customize to a degree, but you won’t get the level of visual control that some other builders offer.

How they compare at a glance
| Feature | Jotform | Typeform | Google Forms | Tally | Fomr |
|---|---|---|---|---|---|
| Drag-and-drop upload | Yes | No | No | Yes | Yes |
| Max file size (free) | 10 MB | 10 MB | 10 MB | 10 MB | 10 MB |
| Multiple file upload | Yes | No | Yes | Yes | Yes (up to 20 per question) |
| Storage (free plan) | 100 MB | Yes (10/mo) | Google Drive | 500 MB | 100 MB |
| Requires sign-in | No | No | Yes (Google) | No | No |
| File type restrictions | Yes | Yes | Yes | Yes | Yes |
For a broader look at how these tools compare across all features, not just file uploads, check out our comparison of the top form builders and our roundup of the best free online form builders.
Where Fomr stands on file uploads (honest answer)
Fomr has a File Upload component, and it’s available to everyone, including the free plan.
Add it to any form and respondents can drag and drop up to 20 files per question, with previews for images, PDFs, video, and audio right inside Fomr. Everything else downloads with a click. Uploads run in the background while people keep filling out the rest of the form, so a large file doesn’t stall the submission. You control what comes in: restrict a question to specific categories (images, video, audio, documents, or archives) and set your own per-question size cap. The free plan accepts files up to 10 MB each with 100 MB of workspace storage; Pro raises that to 5 GB per file and 10 GB of storage. Files stay private to your workspace, stored alongside each response.
One gap worth knowing about: there’s no automatic syncing to Dropbox or Google Drive the way Jotform offers. Files live in Fomr, and you download what you need. If cloud-storage sync is central to your workflow, we’d rather tell you that directly.
Beyond uploads, you get everything else you need for a great form. Our drag-and-drop editor gives you full design control with 1,700+ fonts, custom colors, backgrounds, and logos. You get multi-page forms, auto-jump conversational mode, embed widgets, popup forms, QR code sharing, and custom domains. The free plan includes unlimited forms, unlimited responses, and unlimited team members.
You can start building a form right now without even creating an account. We didn’t bolt on a basic upload button and call it done.
Give it a try
Try this Fomr support request form
Try the screenshot attachment field in this Fomr support-request preview. Uploads are simulated in the template preview; use your own published form to test actual file storage.

Practical tips for file upload forms
A few things I’ve learned from building and reviewing hundreds of forms that accept file uploads:
Keep upload fields near the end of the form. People are more likely to complete an upload if they’ve already invested time filling out earlier fields. Putting the upload first creates a high-effort barrier right at the start.
Don’t make uploads required unless they truly are. If a screenshot is “nice to have” on a bug report, mark the field as optional. Required upload fields have noticeably higher abandonment rates than required text fields, because finding and attaching a file takes more effort than typing a few words.
Compress images on the server side. If you’re accepting photos (insurance claims, property inspections, event submissions), resize and compress them after upload. A 12 MP phone photo is 4-8 MB. You almost never need that resolution. Compressing to a reasonable size saves storage and speeds up your team’s review process.
Test on mobile. File uploads on phones work differently than on desktops. The file picker opens the camera roll or a file browser, depending on the OS and accepted file types. Test your form on both iOS and Android to make sure the experience is smooth. A form that works perfectly on desktop but breaks on mobile will lose a significant chunk of submissions.
Set expectations in the form intro. If your form requires document uploads, mention it at the top. Something like “You’ll need your resume and a copy of your certification to complete this application” lets people gather their files before they start, instead of hitting the upload field unprepared and leaving to find the document (and never coming back).
Start with the form, add uploads when you need them
File uploads are a critical feature for specific use cases, but they’re one piece of a larger puzzle. The form itself still needs to be well-designed, easy to complete, and professional-looking. A clunky form with great file uploads is still a clunky form.
If you need file uploads today, the comparison above should help you pick the right tool, and Fomr belongs in that comparison now. Give Fomr a try: build your form, drop in the File Upload component when you need it, and start collecting files.