Fomr gives you control over how your forms look. You can start with a large library of built-in themes or customize individual elements like colors, fonts, backgrounds, and layout to match your brand.
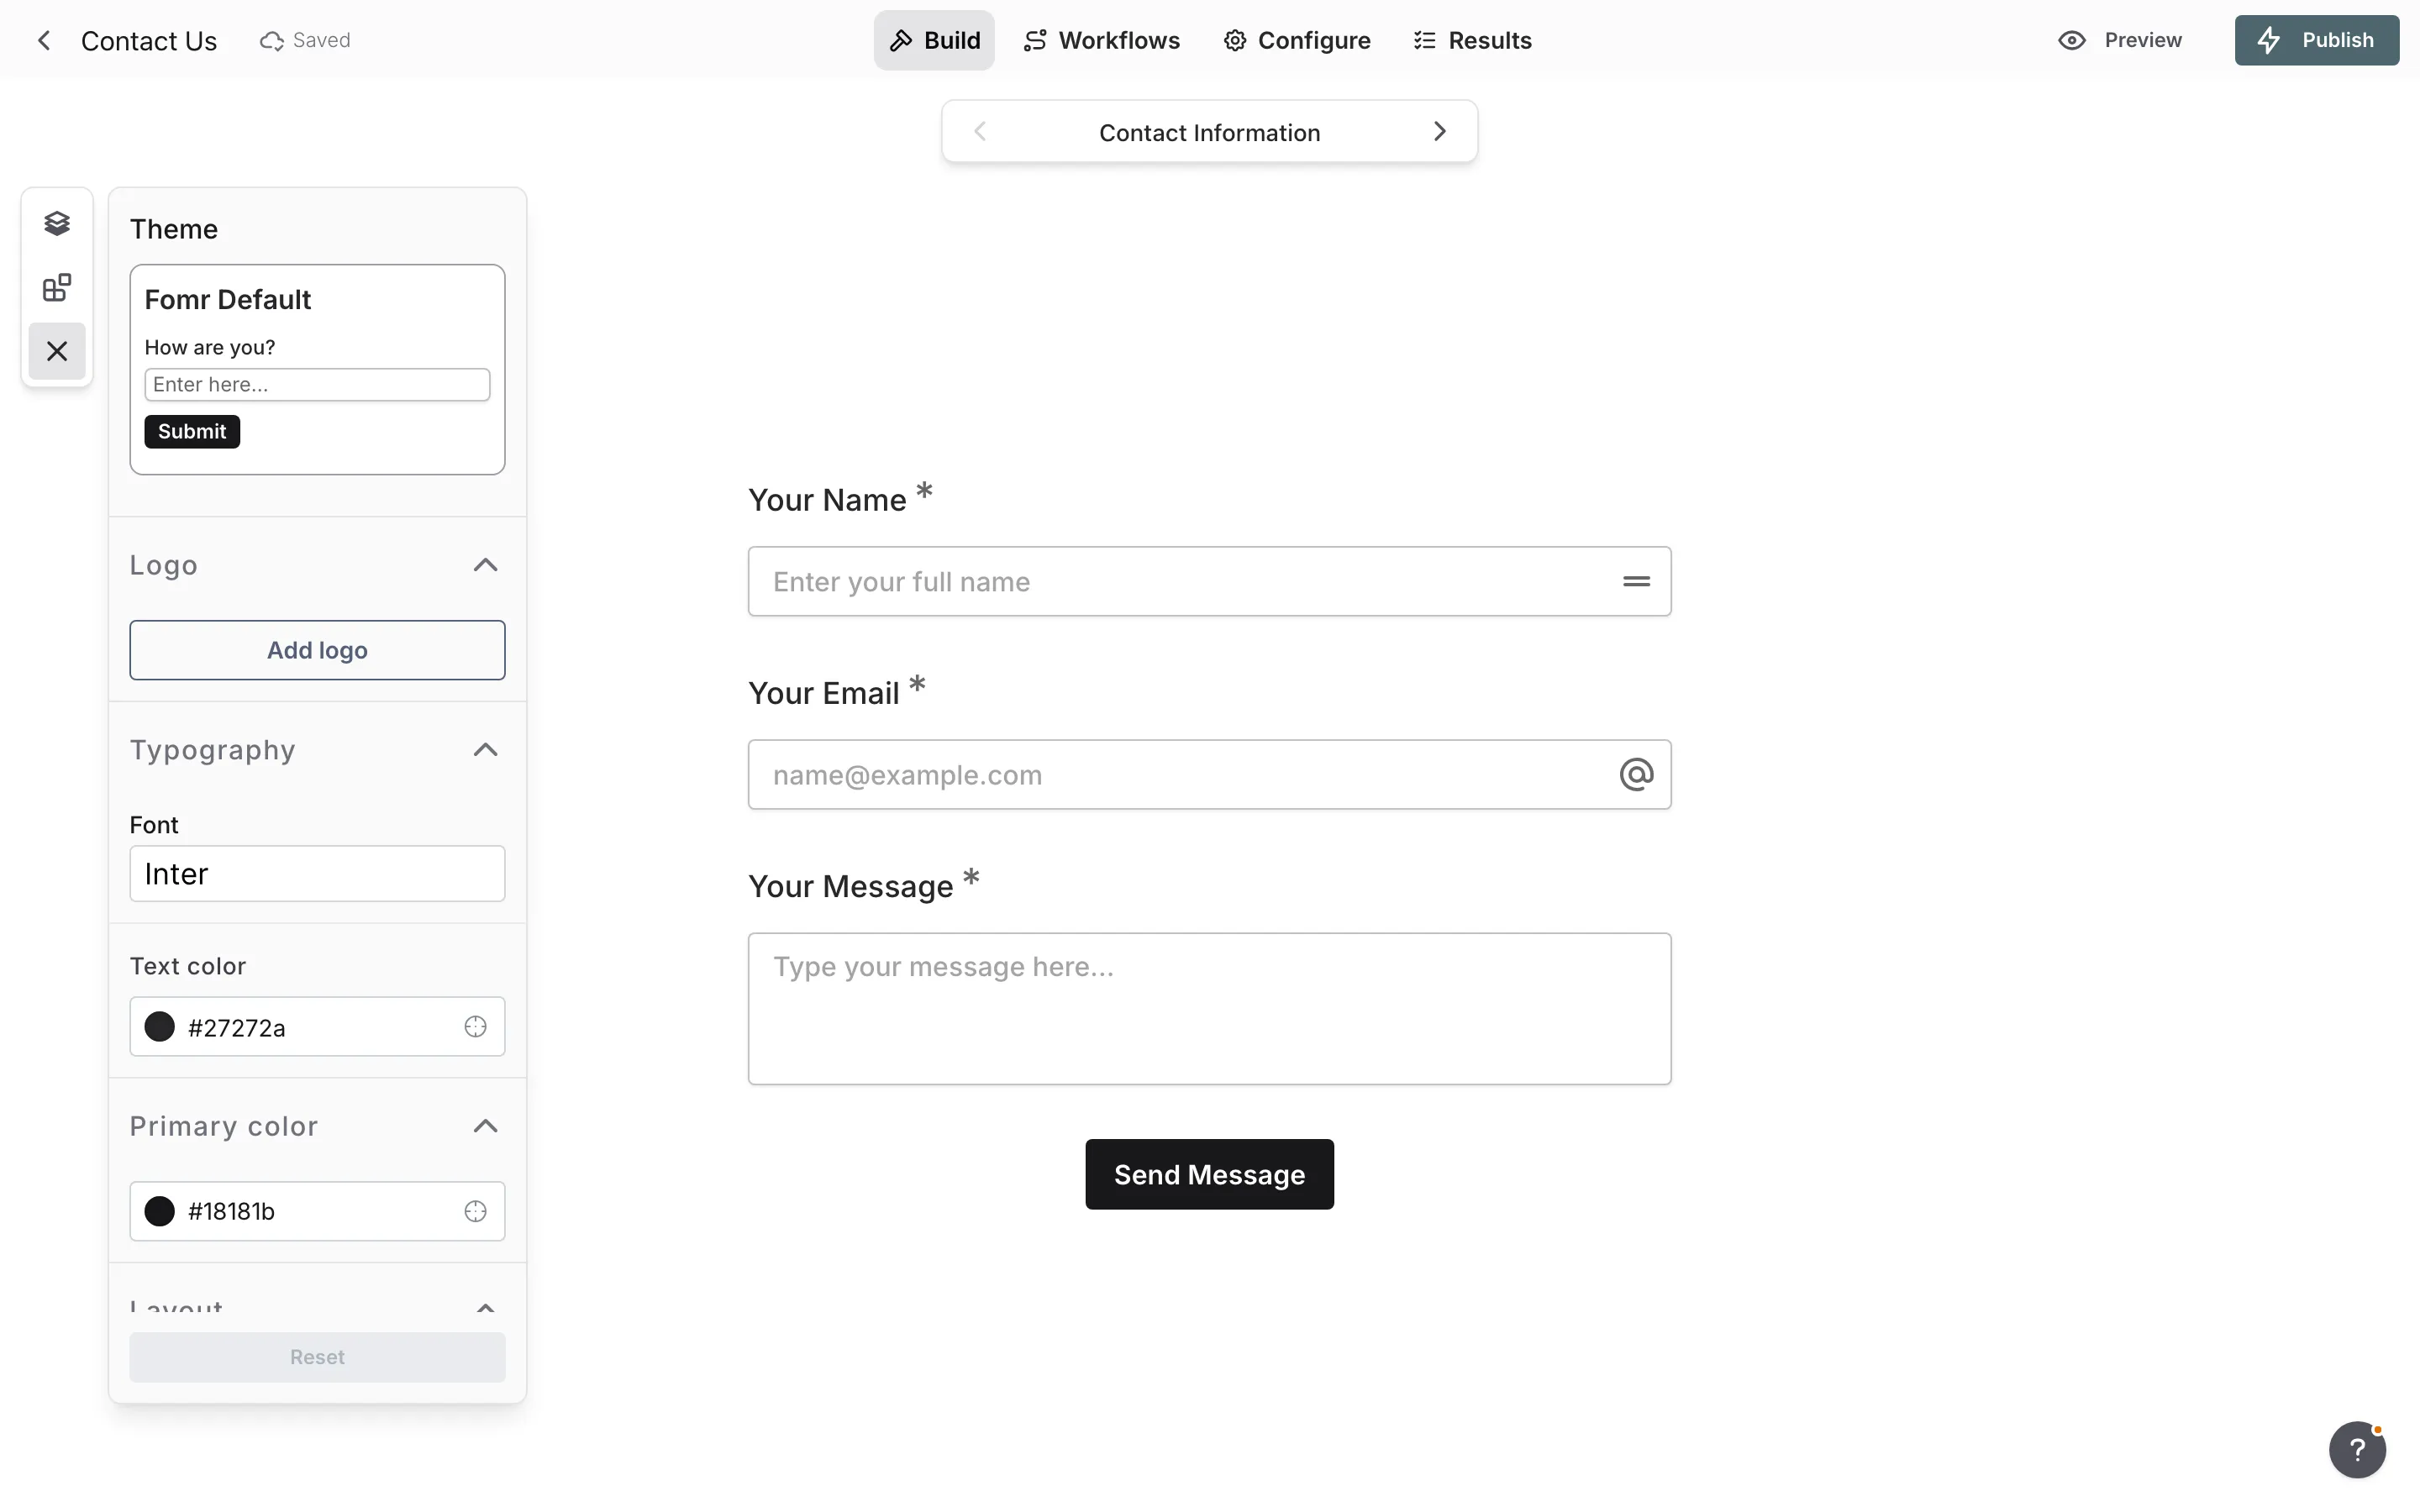
Accessing design settings
Section titled “Accessing design settings”To customize your form’s appearance:
-
Open your form in the editor
-
On the Build tab, open the Design panel
-
Adjust settings to match your desired look
-
Preview changes in real-time on the canvas
Theme picker
Section titled “Theme picker”Preset themes give you a quick starting point. Fomr includes a large library of built-in themes, each with coordinated colors, fonts, and styling that you can use as-is or customize further.
To apply a theme:
-
Click the Theme dropdown in the Design panel
-
Browse available themes
-
Click a theme to apply it instantly
-
Customize individual settings if needed
Logo settings
Section titled “Logo settings”Add your brand logo to create a professional, branded experience for your form respondents.
Adding a logo
Section titled “Adding a logo”You can add a logo in two ways:
- Upload: Click the upload area to select an image from your computer
- URL: Enter a direct HTTPS URL to your logo image
Logo alignment
Section titled “Logo alignment”Control where your logo appears on the form:
- Left - Aligns the logo to the left side
- Center - Centers the logo above your form
- Right - Aligns the logo to the right side
You can also choose the vertical placement, so the logo sits at the very top of the form or just above the first field.
Typography
Section titled “Typography”Customize the text appearance throughout your form with font and color settings.
Font selection
Section titled “Font selection”Choose from a curated selection of web-safe fonts that render beautifully across all devices and browsers. The font you select applies to all text in your form, including questions, descriptions, and button labels.
Text color
Section titled “Text color”Set the primary text color used for questions, labels, and other text content. Choose a color that provides good contrast against your background for optimal readability.
Colors
Section titled “Colors”Set the colors used throughout your form.
Primary color
Section titled “Primary color”The primary color is used for interactive elements like buttons, focus states, and selected options throughout your form.
Layout settings
Section titled “Layout settings”Control the overall structure and spacing of your form.
Form width
Section titled “Form width”Set the maximum width of your form content:
| Width | Best For |
|---|---|
| Extra Small (xs) | Simple forms, popups, narrow embeds |
| Small (sm) | Contact forms, quick surveys |
| Medium (md) | Standard forms, most use cases |
| Large (lg) | Complex forms with longer questions |
| Extra Large (xl) | Data-heavy forms, wide displays |
Spacing
Section titled “Spacing”Adjust the vertical spacing between form components. More spacing creates a cleaner, more open feel, while tighter spacing fits more content on screen.
Horizontal alignment
Section titled “Horizontal alignment”Control how the form content aligns within its container:
- Left - Aligns content to the left
- Center - Centers content horizontally
- Right - Aligns content to the right
Vertical alignment
Section titled “Vertical alignment”Set how the form positions vertically on the page:
- Top - Form starts at the top of the viewport
- Center - Form is vertically centered
Button defaults
Section titled “Button defaults”Use the Buttons group in the Design panel to control the default behavior for Page Actions across the form.
Show back button
Section titled “Show back button”Turn this on to show a back button on eligible pages by default.
- Intro pages never show a back button
- The first page in a respondent’s flow does not show a back button
- Final pages do not show a back button
- Later pages follow the theme default unless that page has its own override
Show arrows
Section titled “Show arrows”Turn this on to add arrow icons to Page Actions buttons throughout the form.
Button alignment
Section titled “Button alignment”Choose the default alignment for Page Actions buttons:
| Alignment | Description |
|---|---|
| Left | Buttons align to the left edge |
| Center | Buttons are centered |
| Right | Buttons align to the right edge |
| Justify | Buttons spread across the available width |
Background settings
Section titled “Background settings”Customize your form’s background with images or solid colors.
Background options
Section titled “Background options”- Image upload — Upload your own background image directly from your computer. Supported formats include JPG, PNG, and WebP.
- Unsplash — Search millions of free, high-quality photos from Unsplash directly within Fomr. Search for a keyword and select an image.
- URL — Enter a direct HTTPS URL to any publicly accessible image to use as your background.
- Solid color — Choose a solid background color for a clean, simple look.
Blur effect
Section titled “Blur effect”Apply a blur effect to your background image. This helps ensure text remains readable while still showcasing your background imagery.
Form background color
Section titled “Form background color”Toggle whether the form content area has its own background color. When enabled, the form appears on a card-like surface that stands out from the page background.
Border settings
Section titled “Border settings”Fine-tune the visual edges and depth of your form elements.
Border radius
Section titled “Border radius”Control the roundness of corners on form elements:
- None - Sharp, square corners
- Small - Subtle rounding for a modern look
- Full - Maximum rounding for a softer appearance
Shadow
Section titled “Shadow”Add depth with shadow effects:
- None - Flat appearance with no shadow
- Small - Subtle shadow for slight elevation
- Large - Prominent shadow for strong depth effect
Reset theme
Section titled “Reset theme”If you’ve made changes and want to start fresh, use the Reset button to restore all design settings to their default values.
Best practices
Section titled “Best practices”Maintain brand consistency. Use your brand colors, fonts, and logo to create a cohesive experience that respondents will recognize.
Prioritize readability. Ensure sufficient contrast between text and background colors. Test your form on different devices.
Keep it simple. While customization options are extensive, sometimes less is more. A clean, uncluttered design often performs better.
Test on mobile. Preview your form on different screen sizes to ensure your design works well everywhere.
Consider your audience. A playful design might work for a fun survey but could feel inappropriate for a professional application form.