This guide covers how to create a form, add components, and publish it.
Start a new form
Section titled “Start a new form”You have three options:
Start from scratch — Click the New form button in the top right corner of the dashboard. You’ll get a blank canvas ready for building.
Create with AI — From the empty canvas, click Create with AI and describe the form you want to build. Fomr generates the first draft for you, and it works whether you’re signed in or just trying things out as a guest.
You can adjust anything the draft comes with afterward. Buttons, colors, and layout all live in the Design panel on the Build tab.
Use a template — Browse the Templates page to start from a pre-built design, like a contact form, survey, or registration.
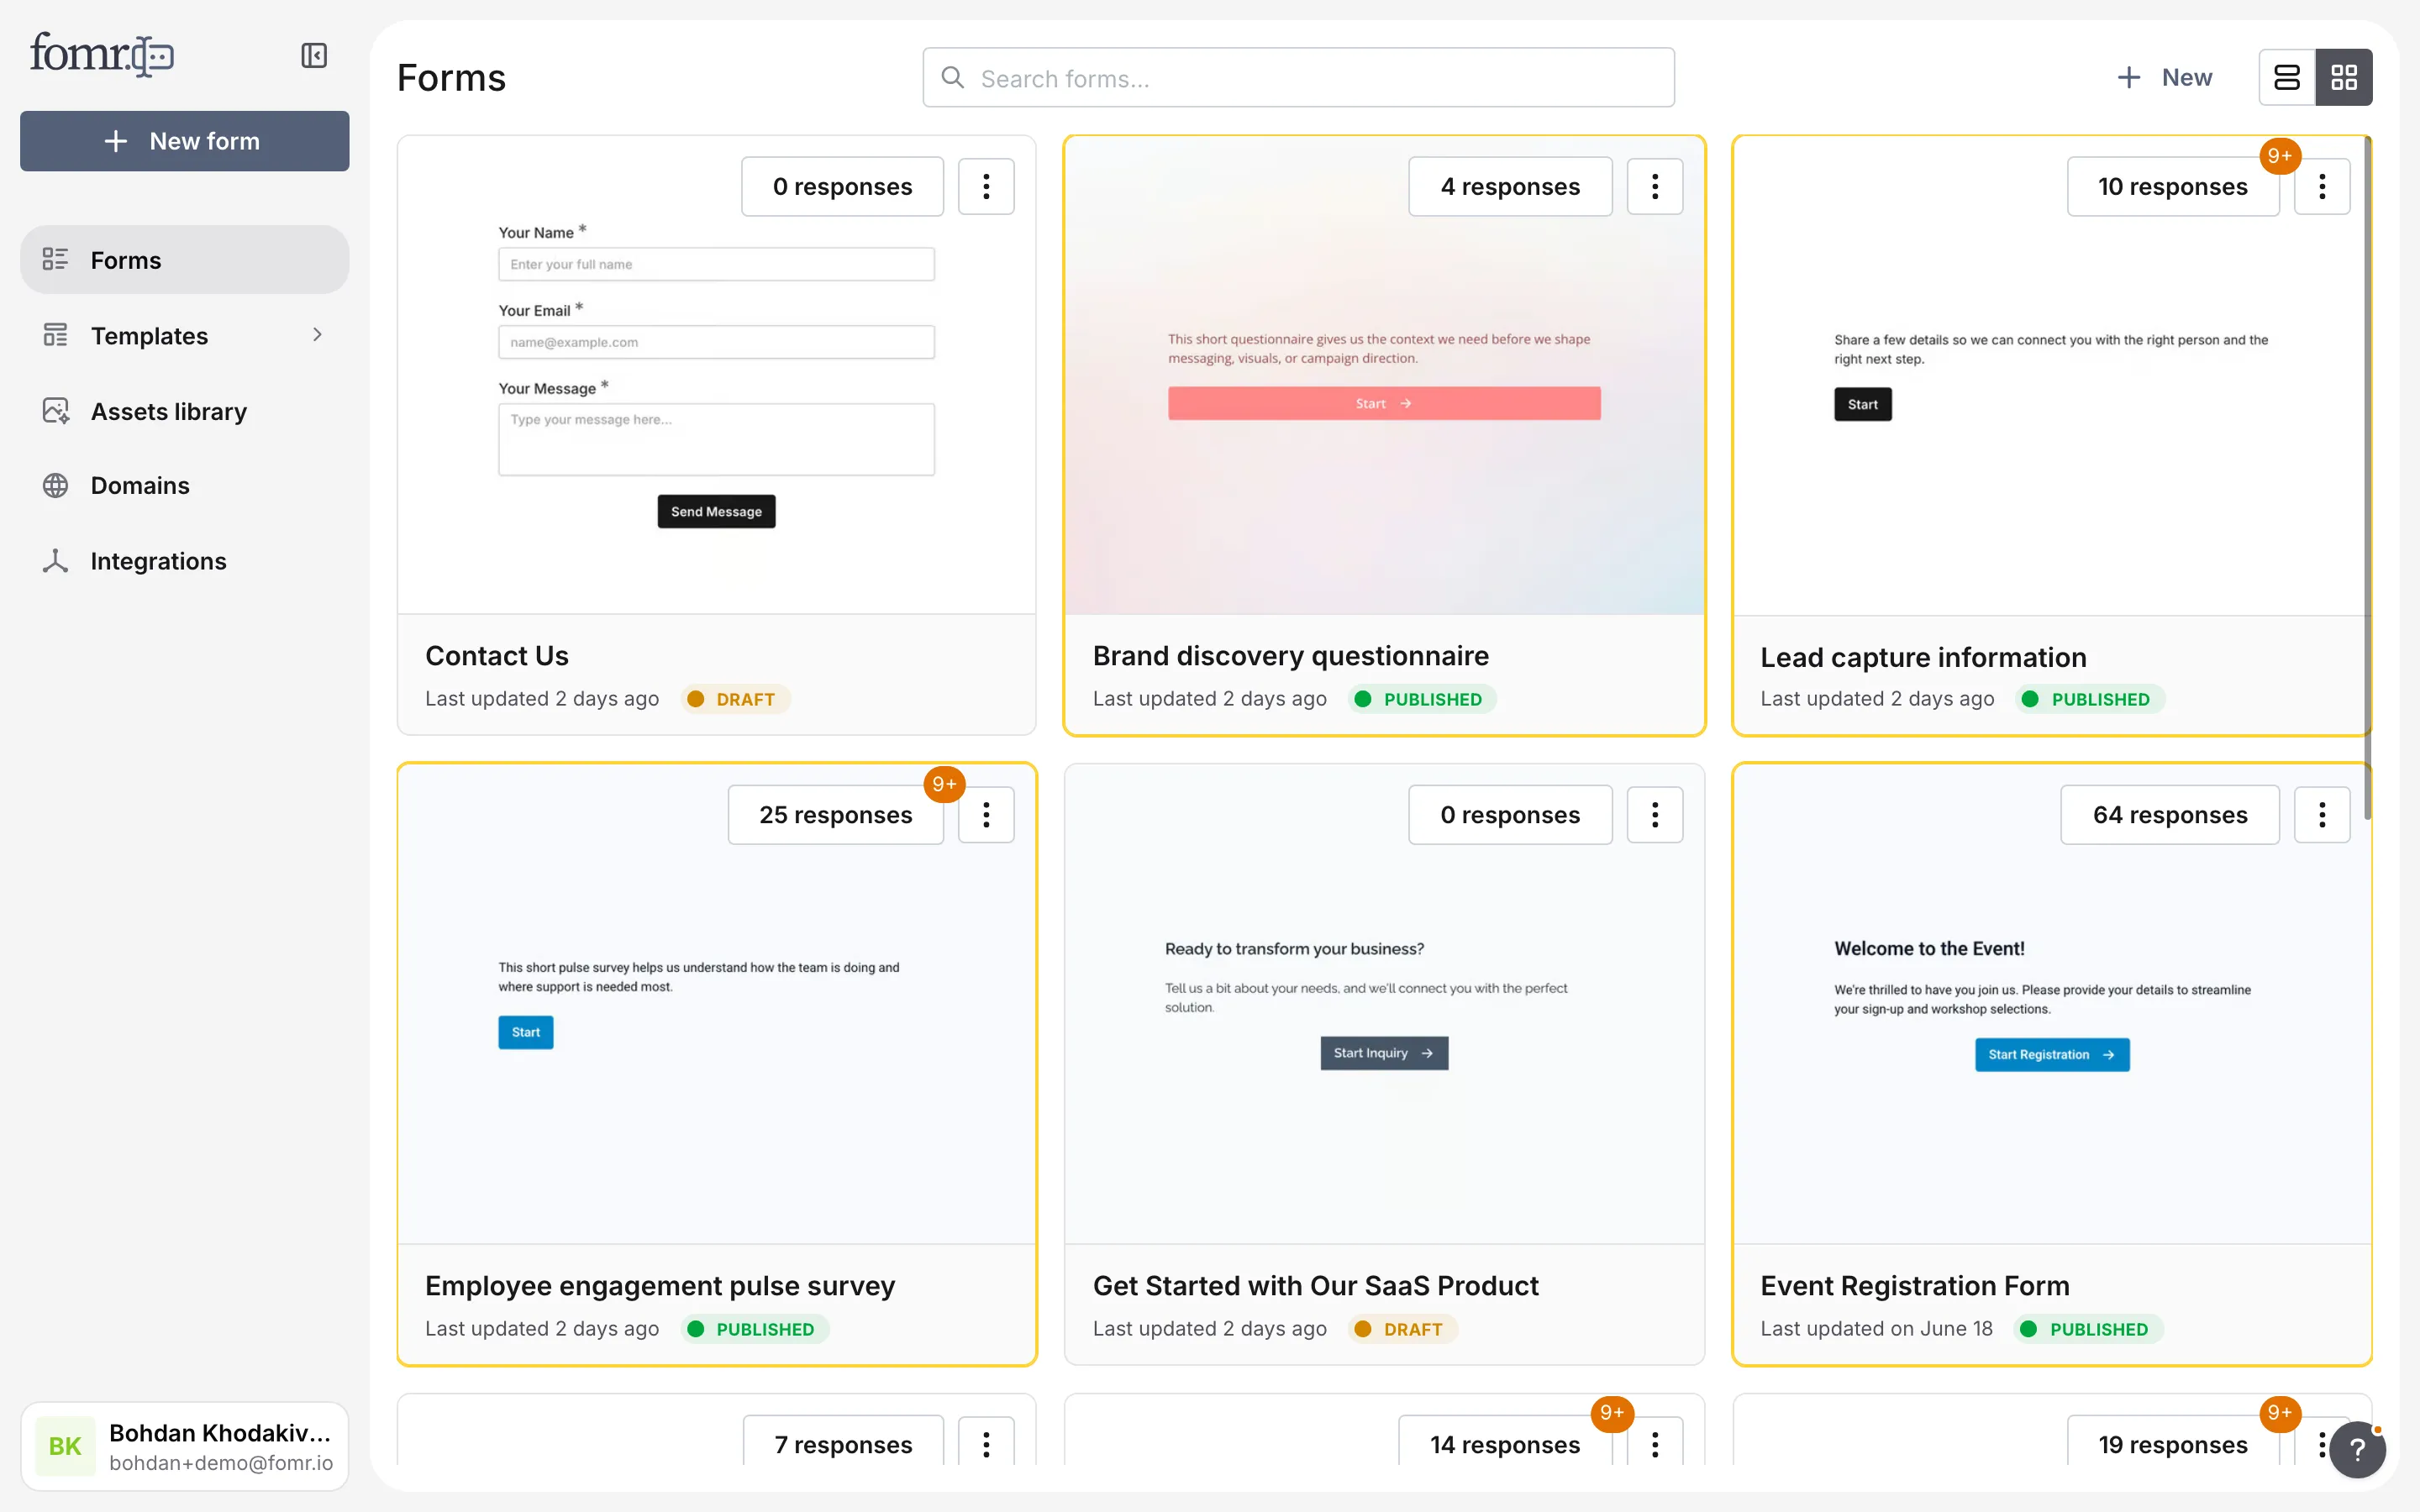
When you create a new form from scratch, you’ll see an empty canvas with actions to Create with AI or Start from a template, plus the usual drag-and-drop editor.
Add your first component
Section titled “Add your first component”The left sidebar shows all available components—text inputs, dropdowns, checkboxes, images, ratings, and more. To add one, drag it onto the canvas.
Try adding a Short Answer component—click it in the Components panel or drag it onto the canvas.
Customize each component
Section titled “Customize each component”Click any component to select it. The settings panel opens on the right, and you can start customizing.
Every component also has a hide (eye) toggle, so you can keep something in your draft while leaving it out of the published form. See hiding and showing pages and components.
To change a component to another compatible type, click the switch icon next to the component name in the settings panel and choose a replacement. Fomr keeps compatible settings and clears anything that no longer fits the new type, including incompatible default values.
Edit directly on the canvas
Section titled “Edit directly on the canvas”For most text, including questions, descriptions, image captions, and placeholders, you can edit right on the canvas. Just click and type. For image captions, turn on Caption in the settings panel first, then edit the text below the image on the canvas.
Use the settings panel for more options
Section titled “Use the settings panel for more options”The right panel gives you everything else. What you can customize depends on the component:
- Choice components — Add, remove, and reorder options
- Number inputs — Collect numeric answers
- Email and phone — Built-in format validation
- Image — Choose an image source, add captions, and control layout
- Input components — Toggle required, add descriptions, set placeholders
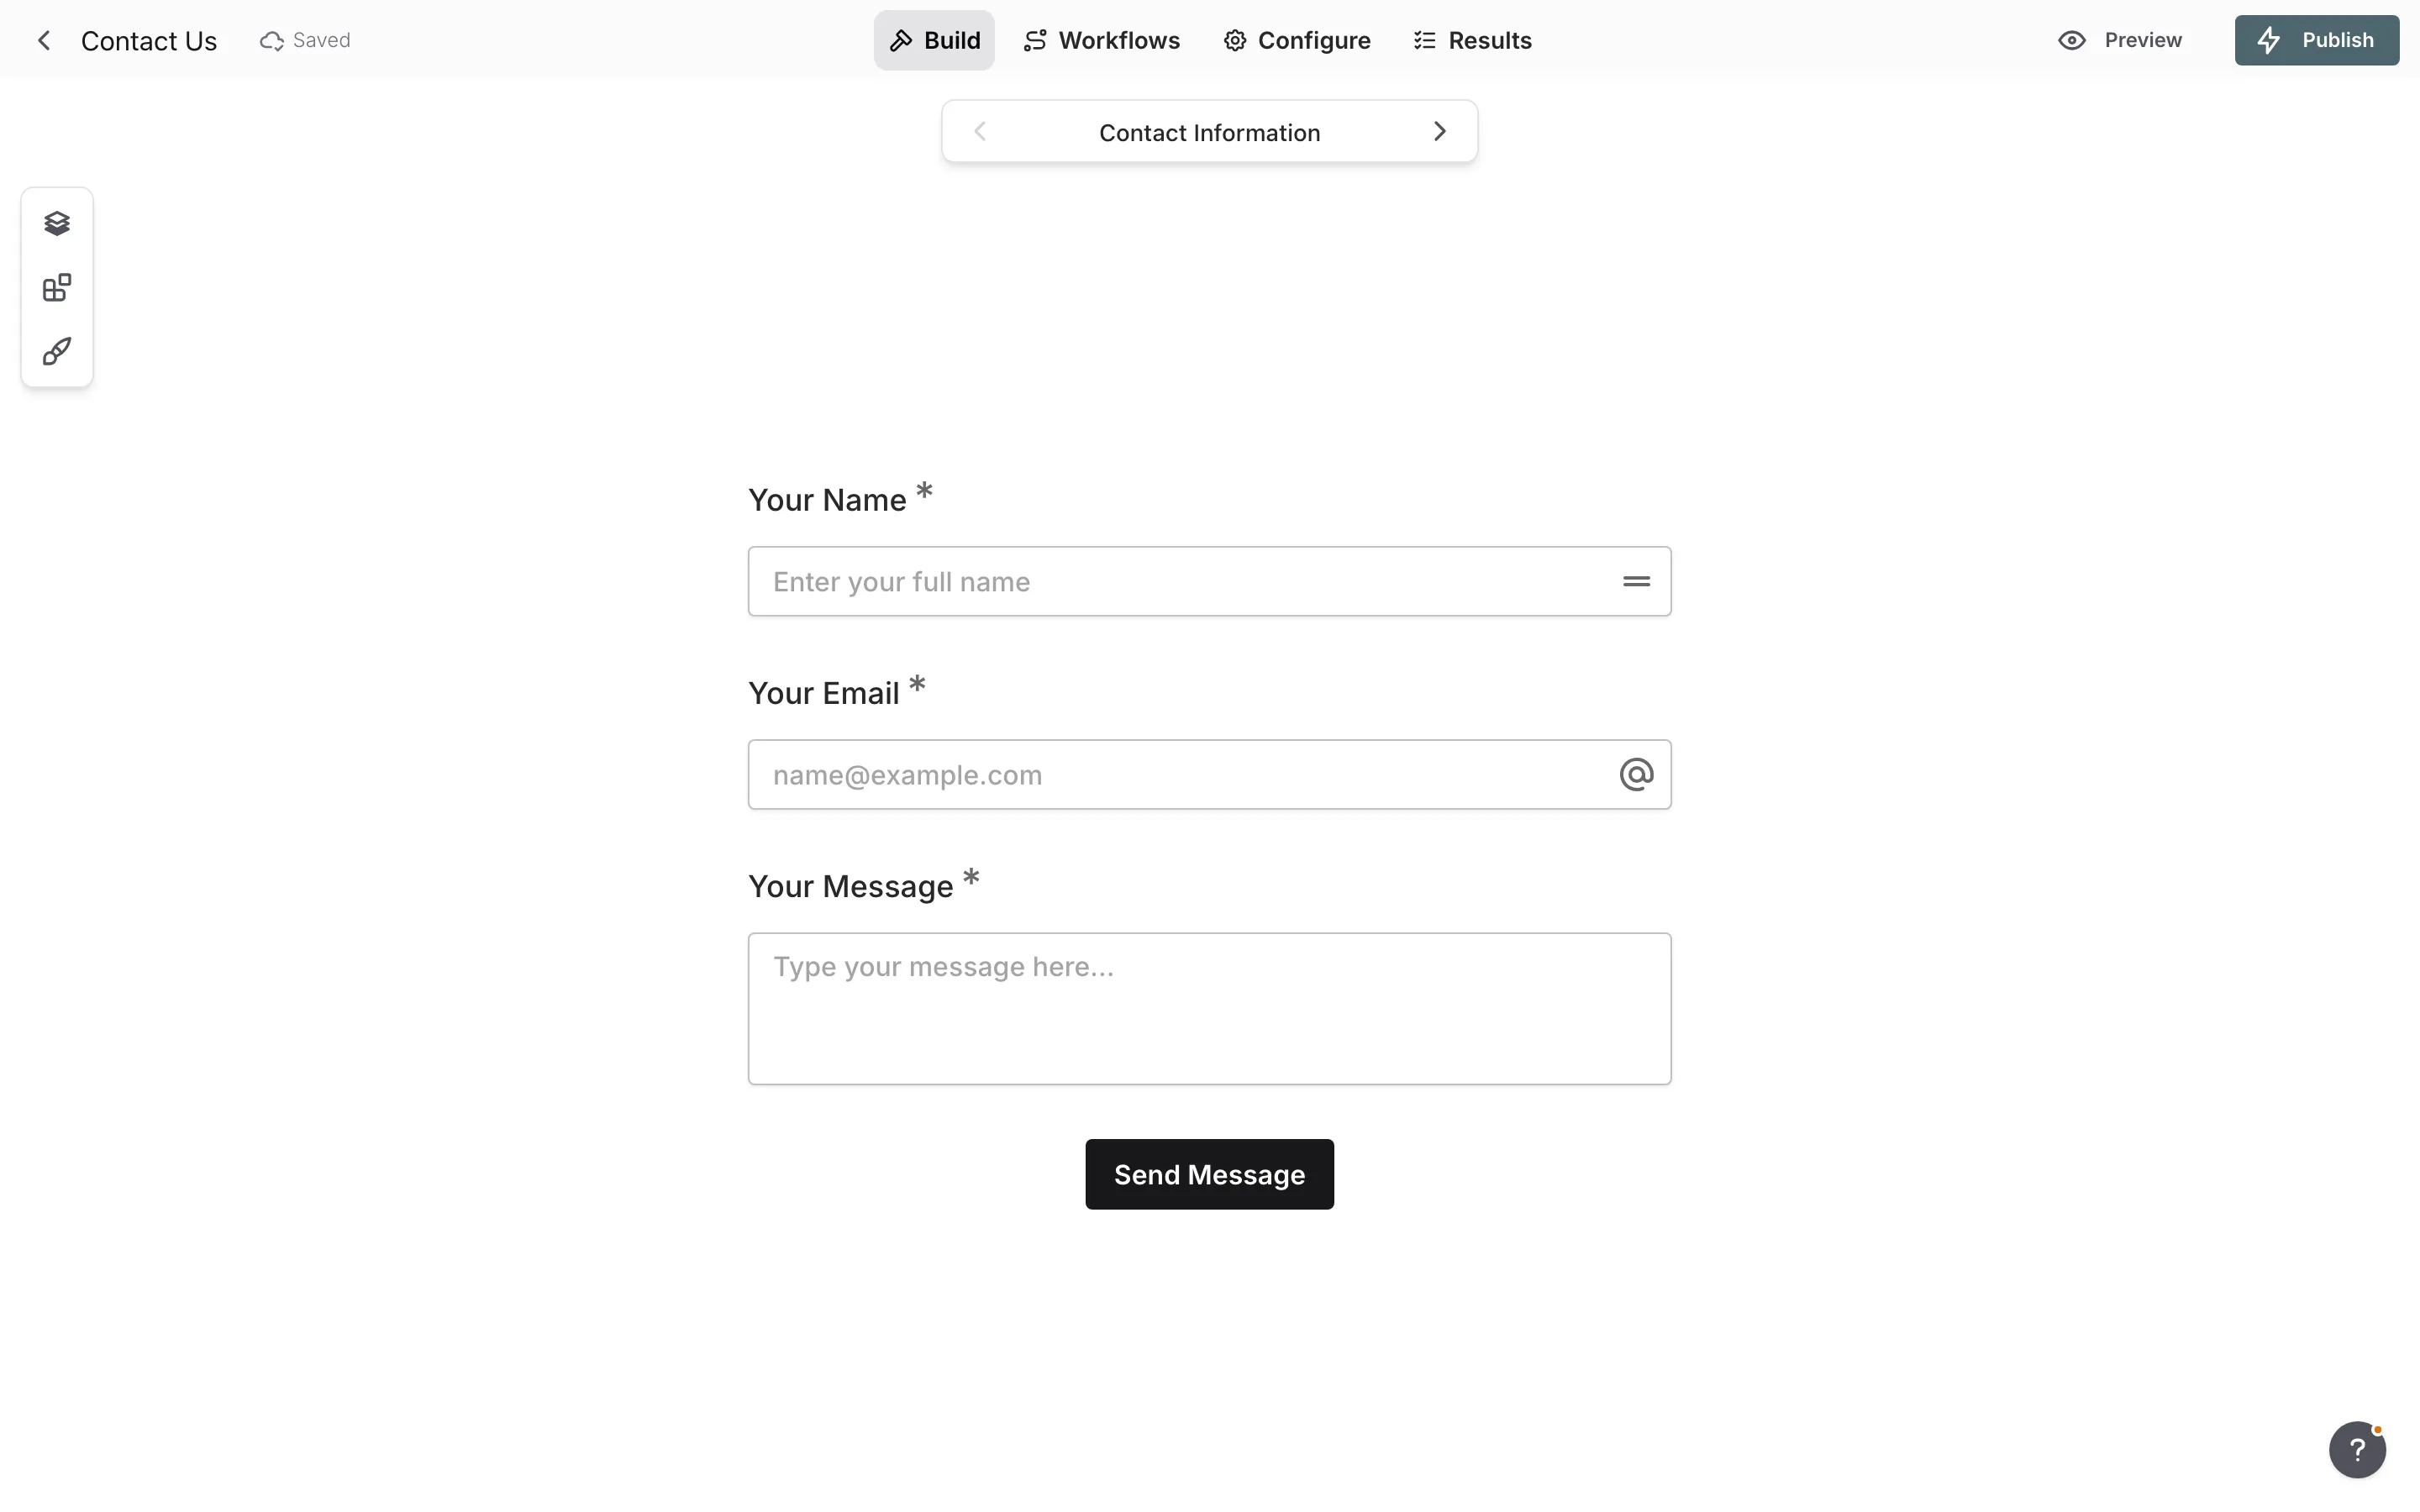
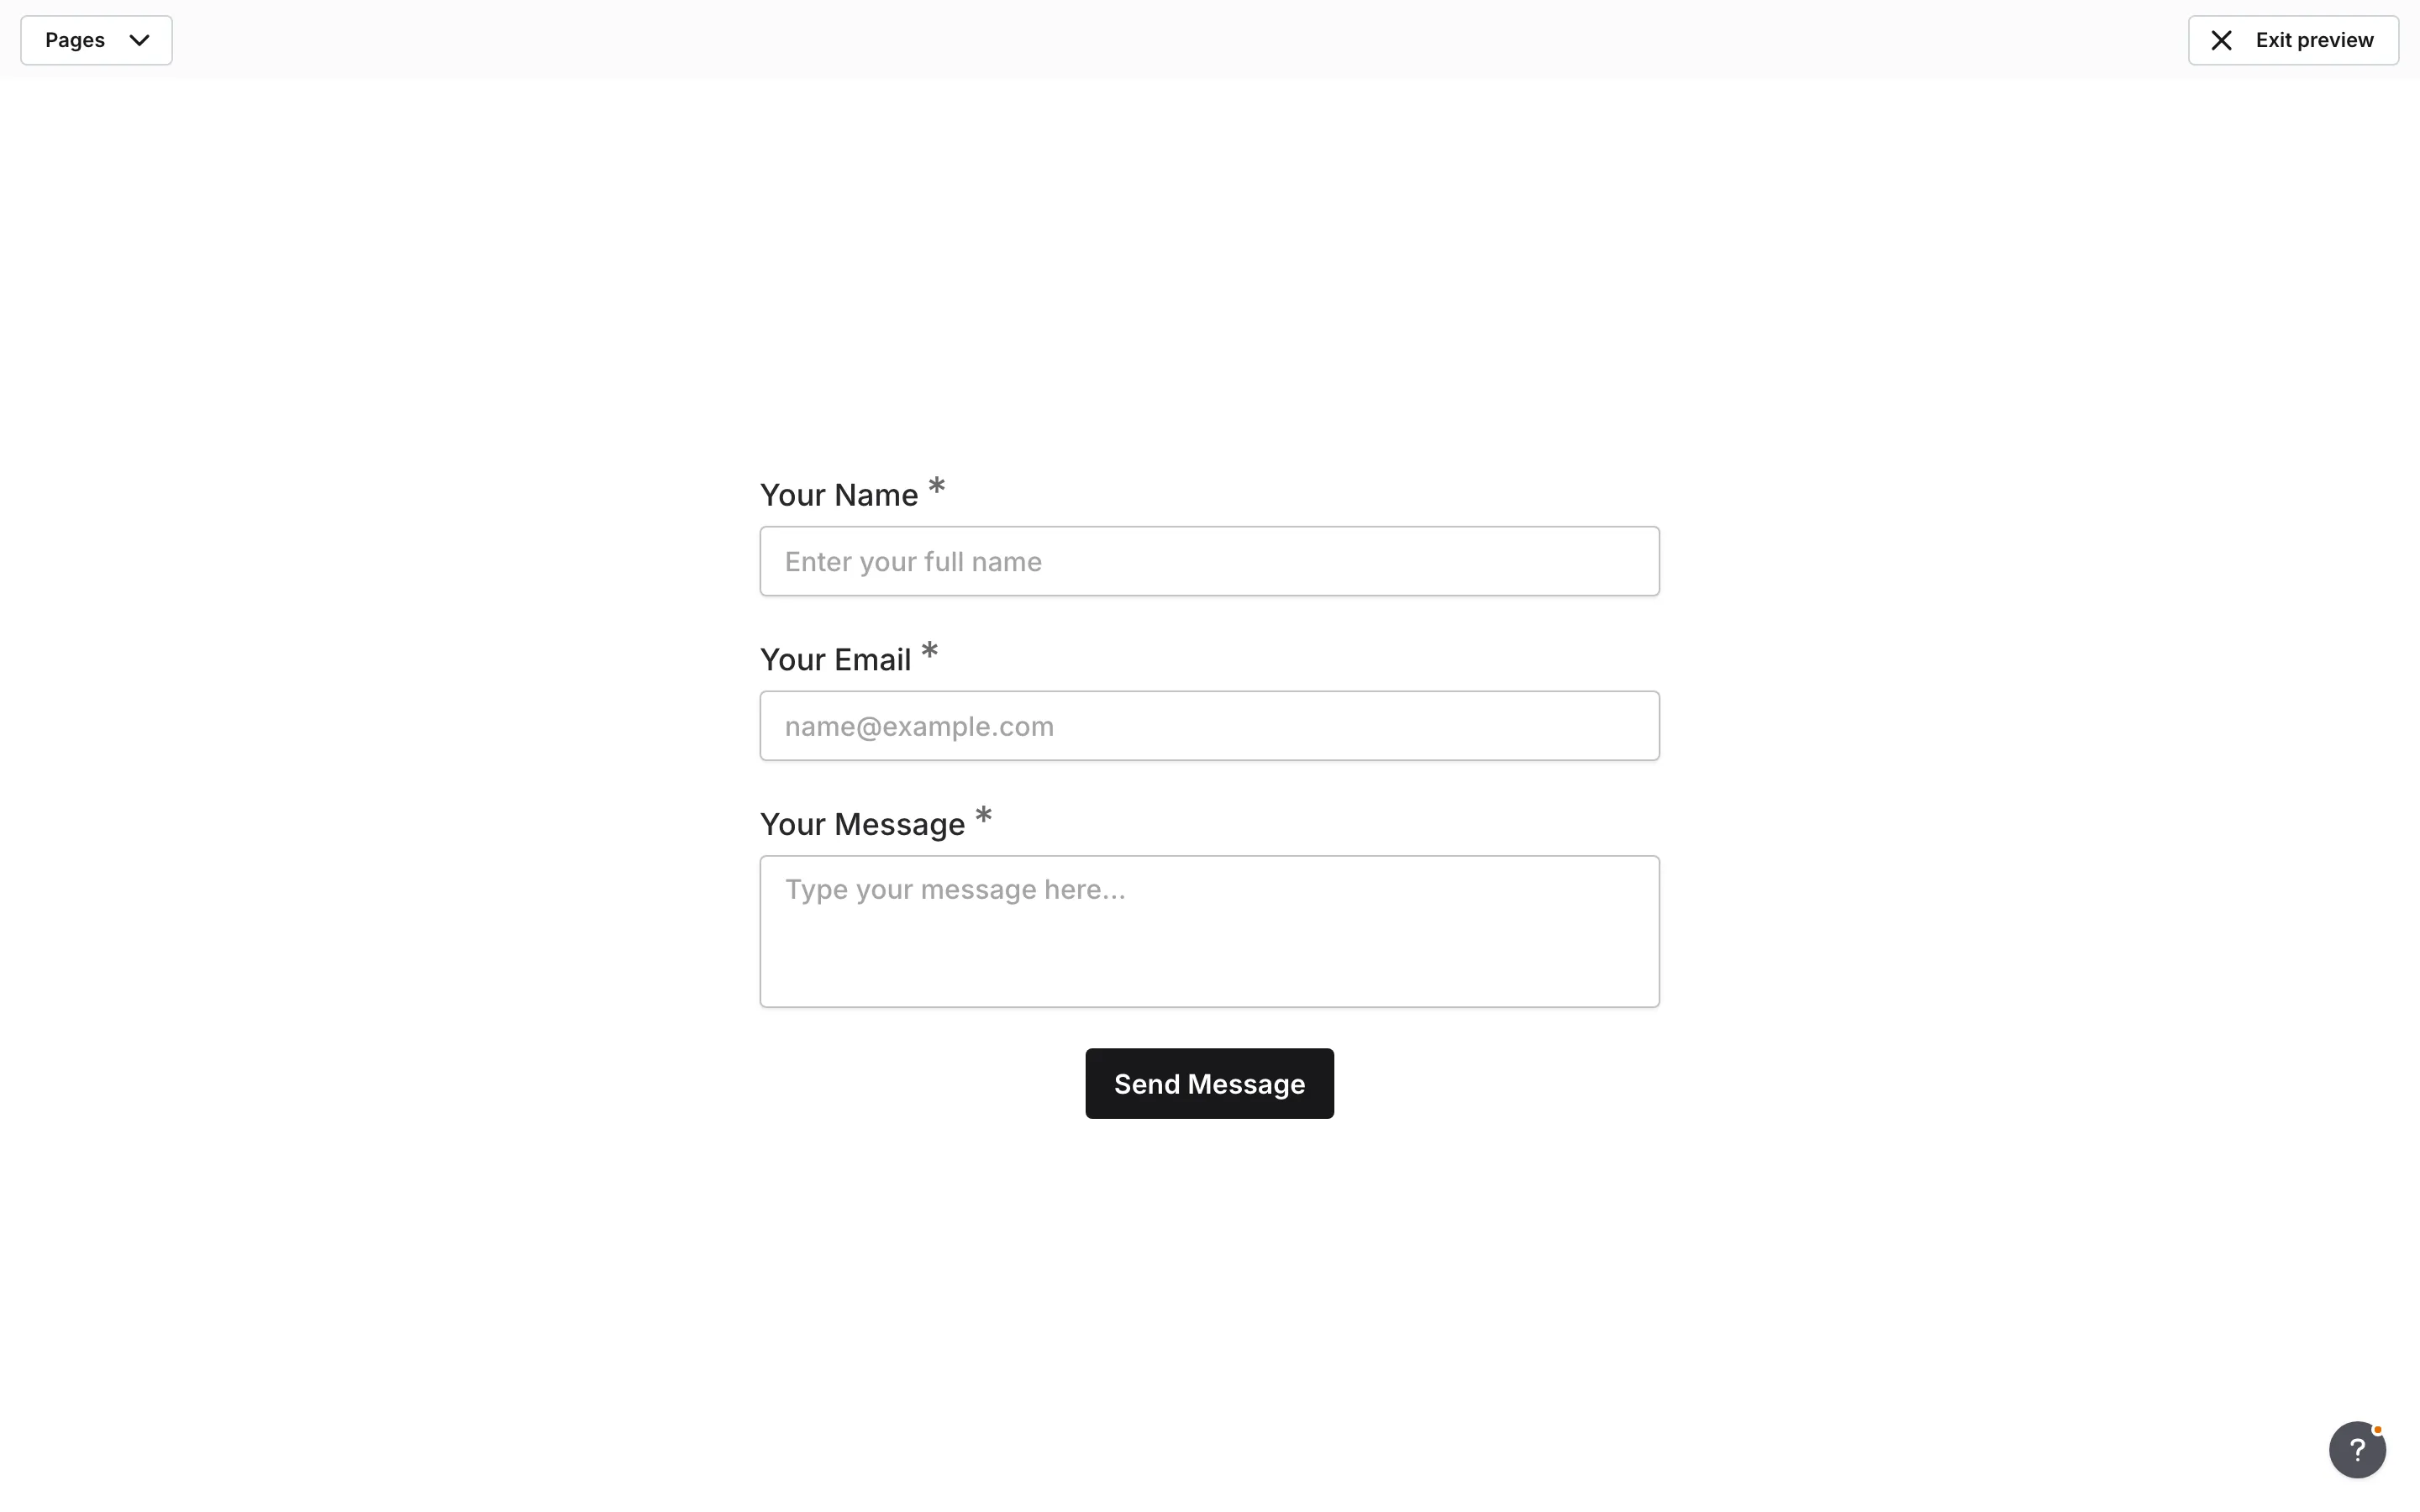
Preview before publishing
Section titled “Preview before publishing”Click the Preview button in the top toolbar to see exactly what your users will see. Test the flow, check that validations work, and make sure everything looks right.
Publish your form
Section titled “Publish your form”When you’re ready, click Publish in the top right corner. Your form will be live and can accept responses.
Your draft does not need to be finished while you’re building. Fomr saves incomplete work automatically. When you’re ready to go live, publishing checks the form for missing, invalid, or over-limit content and shows any issues you need to fix first.
For multi-page forms, every normal page must include at least one question component before publishing will succeed. Intro pages are for welcome or instruction content and cannot contain questions.
Anything you have hidden—components or whole pages—is not included when you publish, but stays in your draft for later.