The Image component adds a display-only image to a form page. Use it for product photos, event visuals, instructions, diagrams, brand imagery, or visual breaks between questions.
Image does not collect responses. It only displays content to respondents.
When to use Image
Section titled “When to use Image”Image works well for:
- Product photos or examples
- Event banners or venue images
- Instructional diagrams
- Visual section breaks
- Brand or campaign imagery inside the form
- Context before a group of questions
Adding an Image component
Section titled “Adding an Image component”-
Open your form in the editor
-
Drag the Image component from the left sidebar onto your form
-
Click Choose an image on the canvas or Add image in the settings panel
-
Select an image source
-
Configure captions, size, and alignment as needed
Resize an image
Section titled “Resize an image”You can resize an image directly on the canvas instead of typing a size in the settings panel.
-
Click the image on the canvas to select it. A handle appears on each of its four corners.
-
Drag any corner handle. A label below the image shows the current size, such as 370 × 194, while you drag.
-
Release to apply the new size.
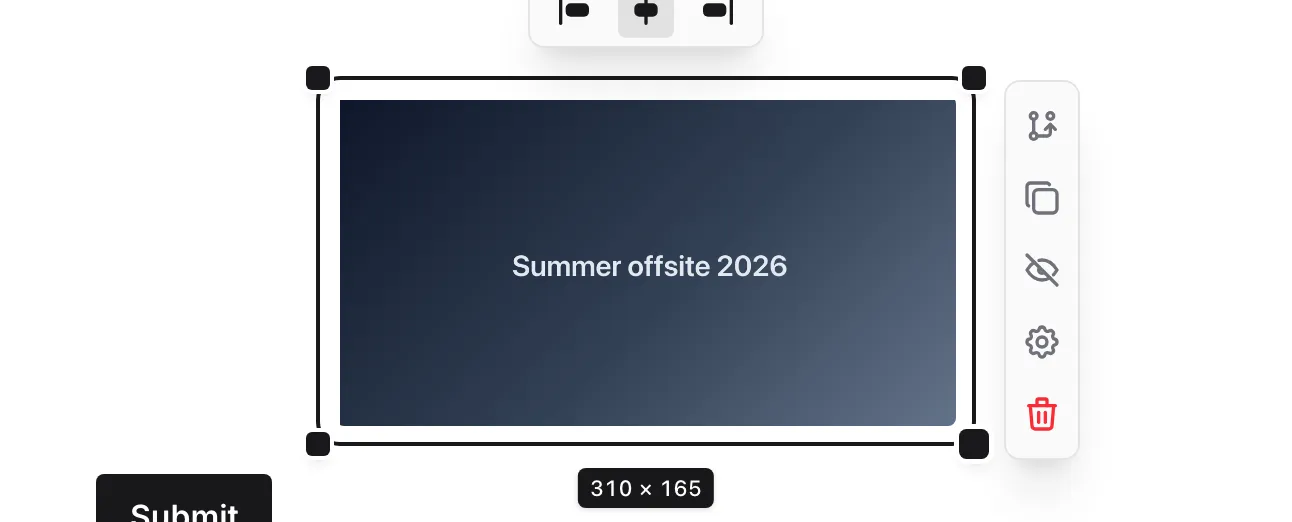
How resizing behaves:
- Proportions stay locked — The width you drag to sets the height, so the image never stretches or squashes.
- Alignment sets the direction — A centered image grows on both sides. A left- or right-aligned image grows away from the side it is aligned to.
- Snap to full width — Drag to the edge of the available space and the label changes to Full width. Release there to make the image full width.
- Cancel a drag — Press Escape while dragging to put the image back to its previous size.
- One undo step per resize — Each resize can be reversed with a single undo.
Resizing works with a mouse, a pen, or touch. The Full width and Size settings update to match after each drag. Dragging the handles of a full-width image turns Full width off.
Image sources
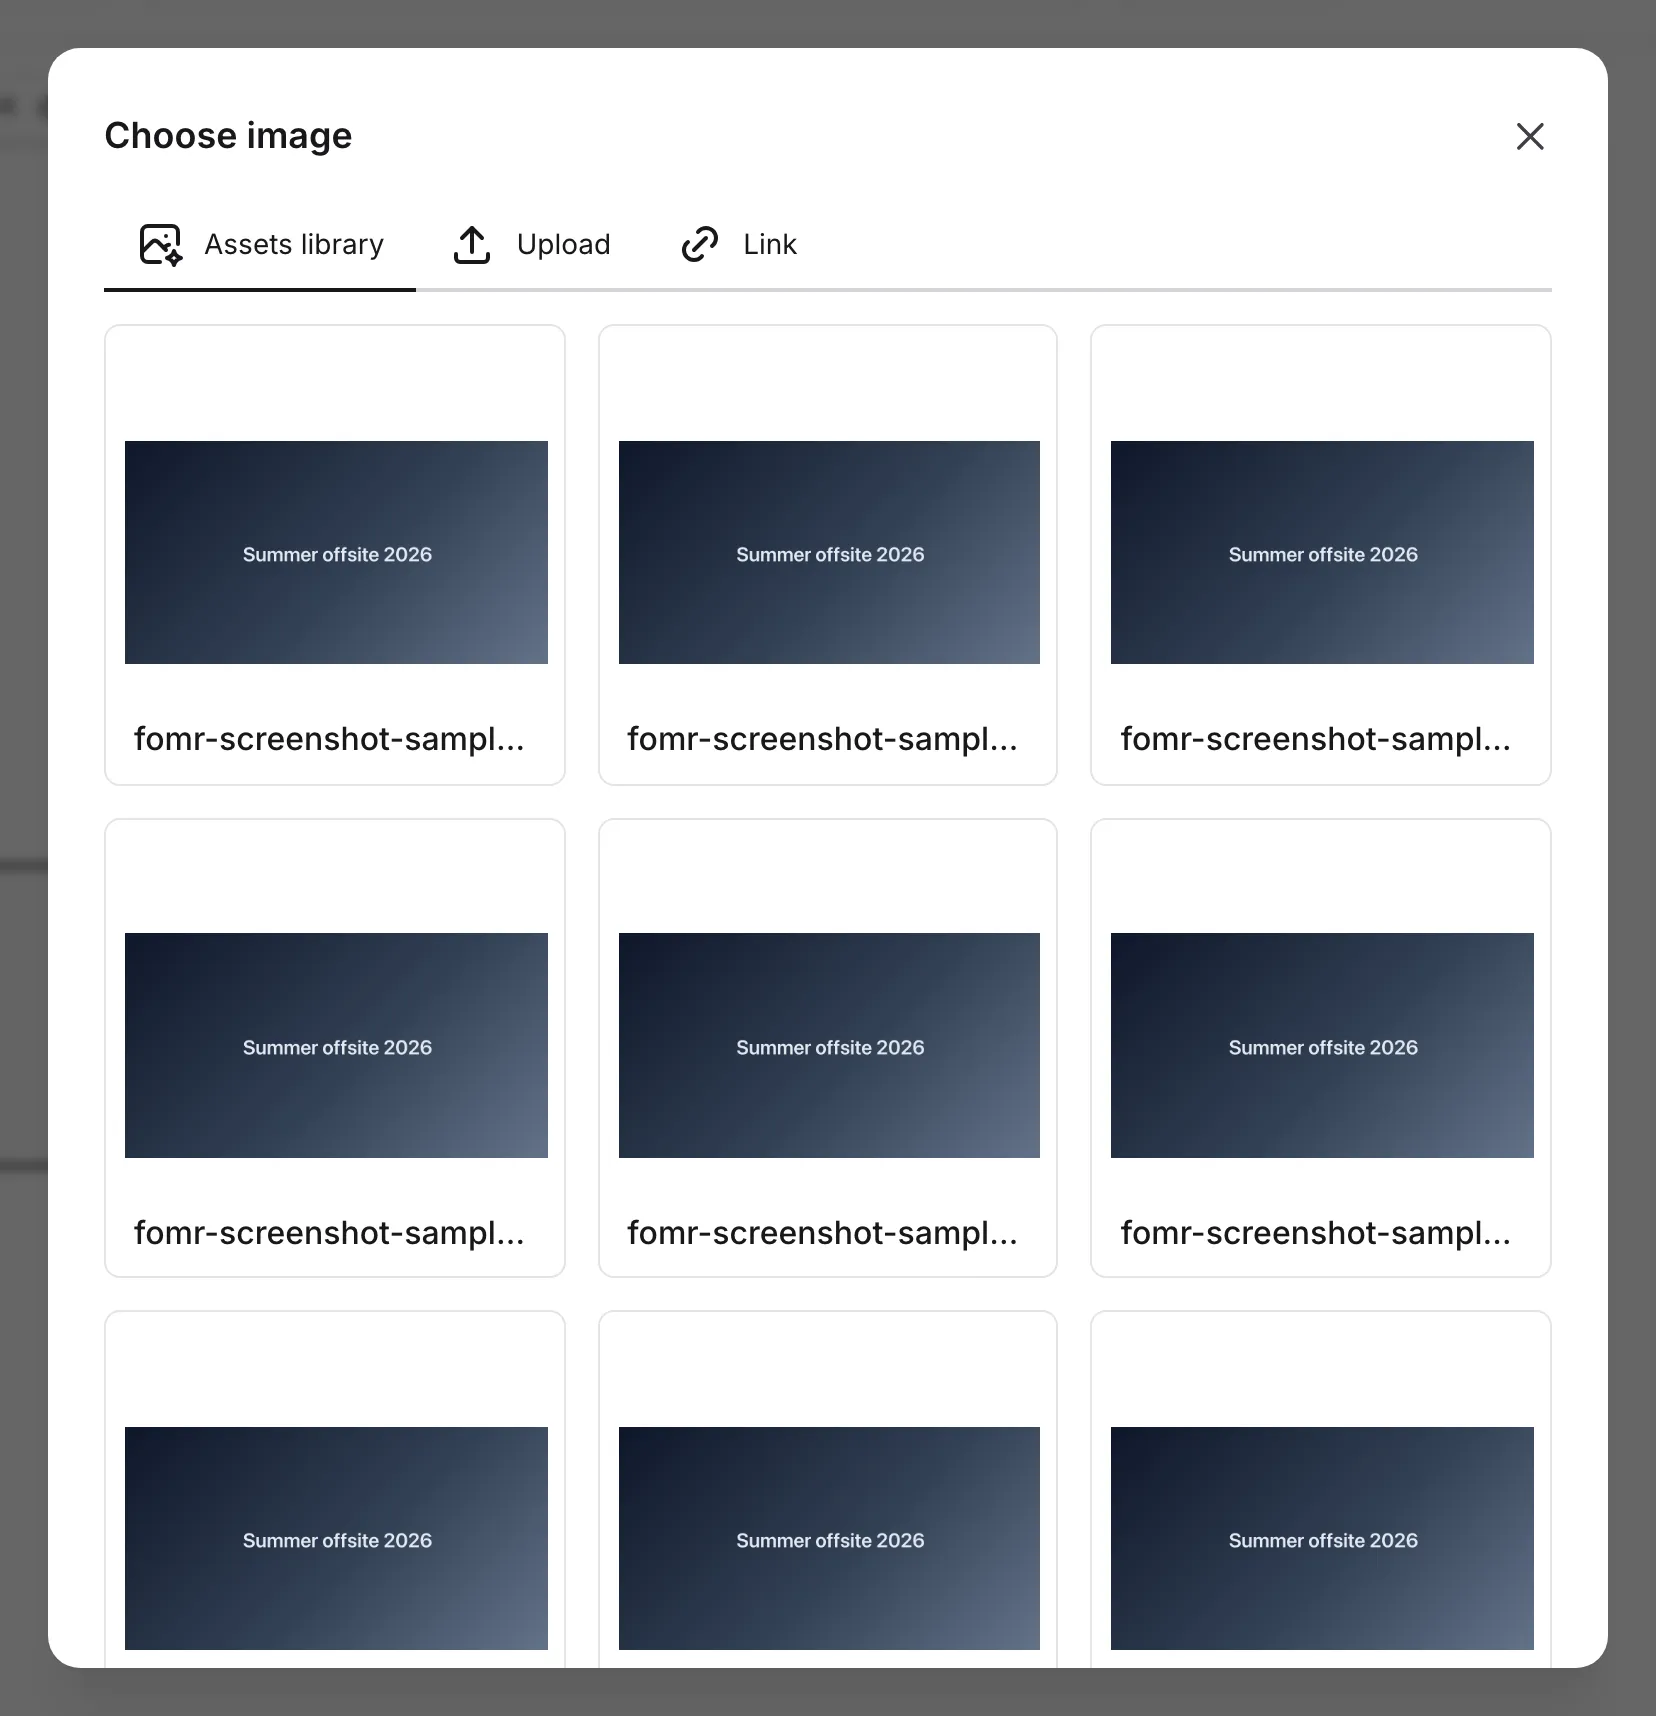
Section titled “Image sources”Choose where the image comes from:
- Assets library — Select an existing image from your asset library. Use this for images you reuse across forms.
- Upload — Upload an image from your computer. The uploaded image is saved to your asset library.
- Link — Paste a direct image URL. Use this for images hosted outside Fomr.
Configuration options
Section titled “Configuration options”Image source
Section titled “Image source”Choose, replace, or remove the image shown by the component. You can select from assets, upload a new file, or paste an image URL.
Caption
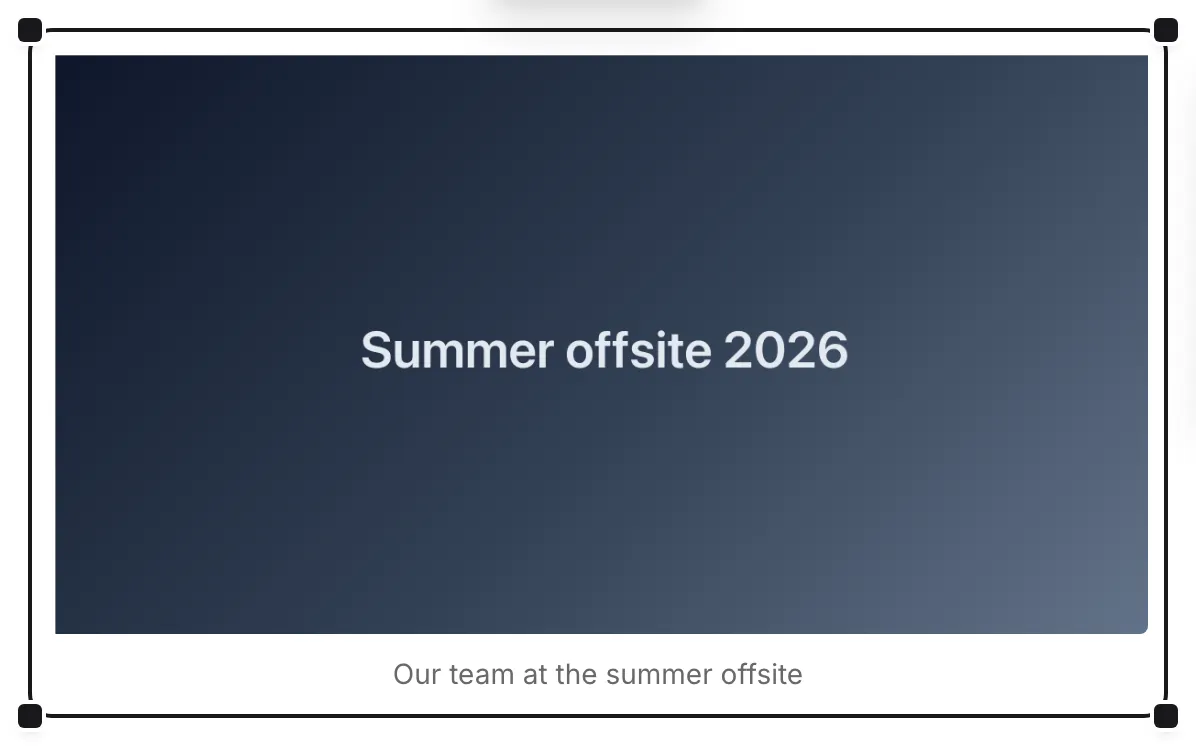
Section titled “Caption”Toggle whether the image has a caption. When caption is enabled, click the caption below the image on the canvas and type your text.
Captions support rich text formatting, so you can add short explanations or links when needed.
Full width
Section titled “Full width”Full width makes the image span the available form width. This is useful for banners, large photos, and section visuals.
When full width is enabled, the custom size setting is hidden because the image fills the form content area.
When full width is off, set the image width and height. Fomr keeps the image proportions in sync while you adjust the size. You can also drag the corner handles on the canvas to resize the image.
Alignment
Section titled “Alignment”Select the image on the canvas. A small bubble with three alignment buttons appears above it. Choose left, center, or right. Images are centered by default. The bubble stays visible while the settings are open.
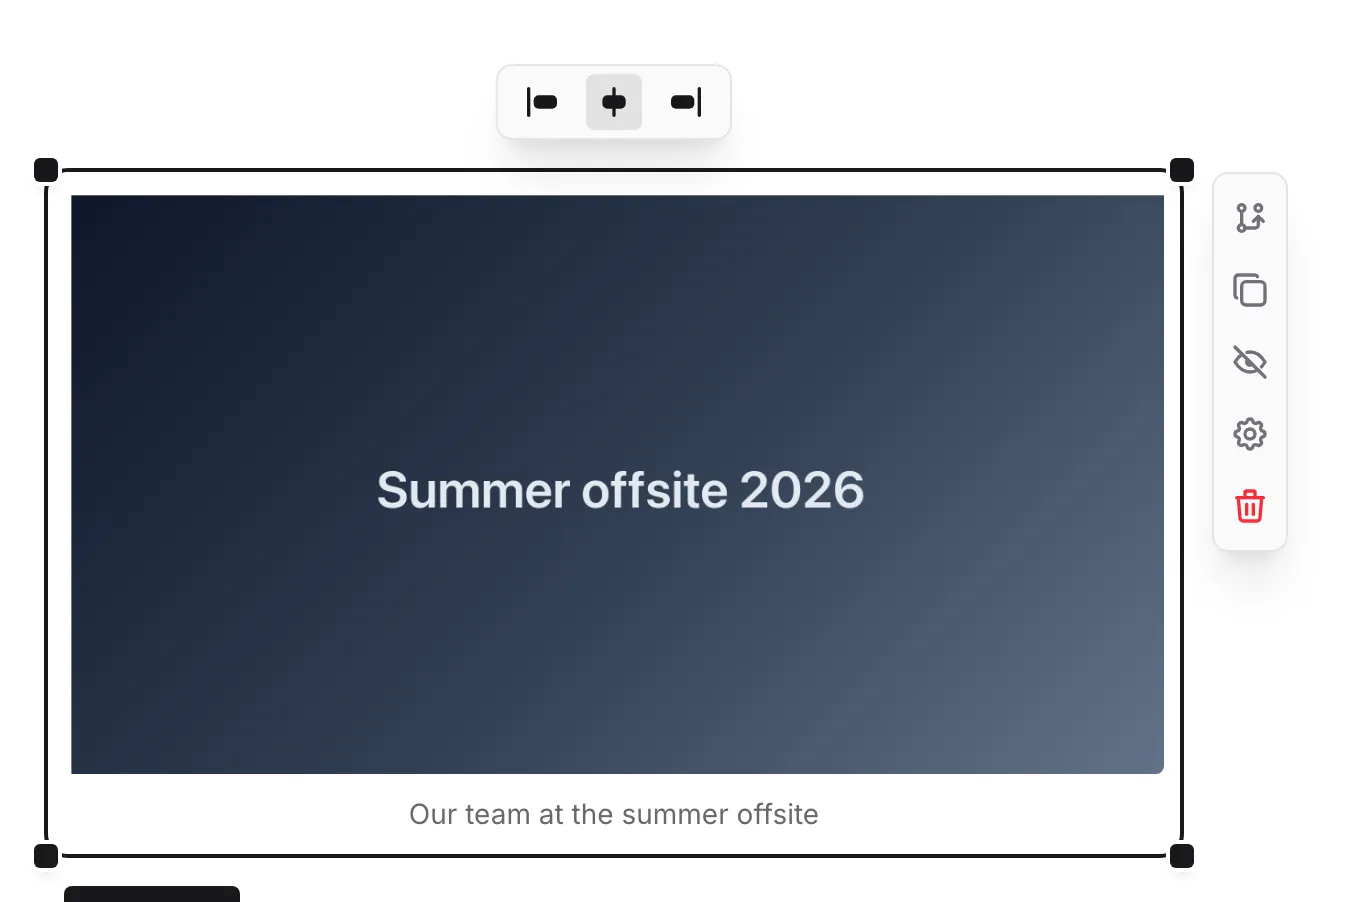
Alignment is set from the canvas, not the settings panel. It positions images that are narrower than the form, so it has a visible effect when full width is off.
Accessibility
Section titled “Accessibility”Image captions help respondents understand why the image is there. If an image contains important information, repeat that information in nearby text as well.
Avoid using images as the only way to explain required instructions. This helps people using screen readers and anyone who cannot see the image clearly.
Handling in responses
Section titled “Handling in responses”Since Image is display-only:
- It does not appear in form responses
- It is not included in exports
- It does not affect required components or validation
- It has no impact on submission data